
Run Your First Kit
This is the second post in our getting started with Arctic Fox series. In this post, we will add Arctic Fox to a folder, add a kit to a file, and use the kit to fetch (generate) its code! This follows from the first post, installing Arctic Fox. If you have not gone through that post, please do so first. Let’s get started!
Previous Posts in Getting Started Series:
– Arctic Fox Install Guide
Open Folder in VS Code
The first thing we need to do is add Arctic Fox to a folder. The first step is to open a folder within Visual Studio Code (VS Code). Open VS Code and click the Arctic Fox icon on the left bar.
This will open the Arctic Fox pane. If you already have a folder open in VS Code, you can skip this mini step. Otherwise, you will see the pane looking as below. Click the Open Folder button in the Arctic Fox pane.
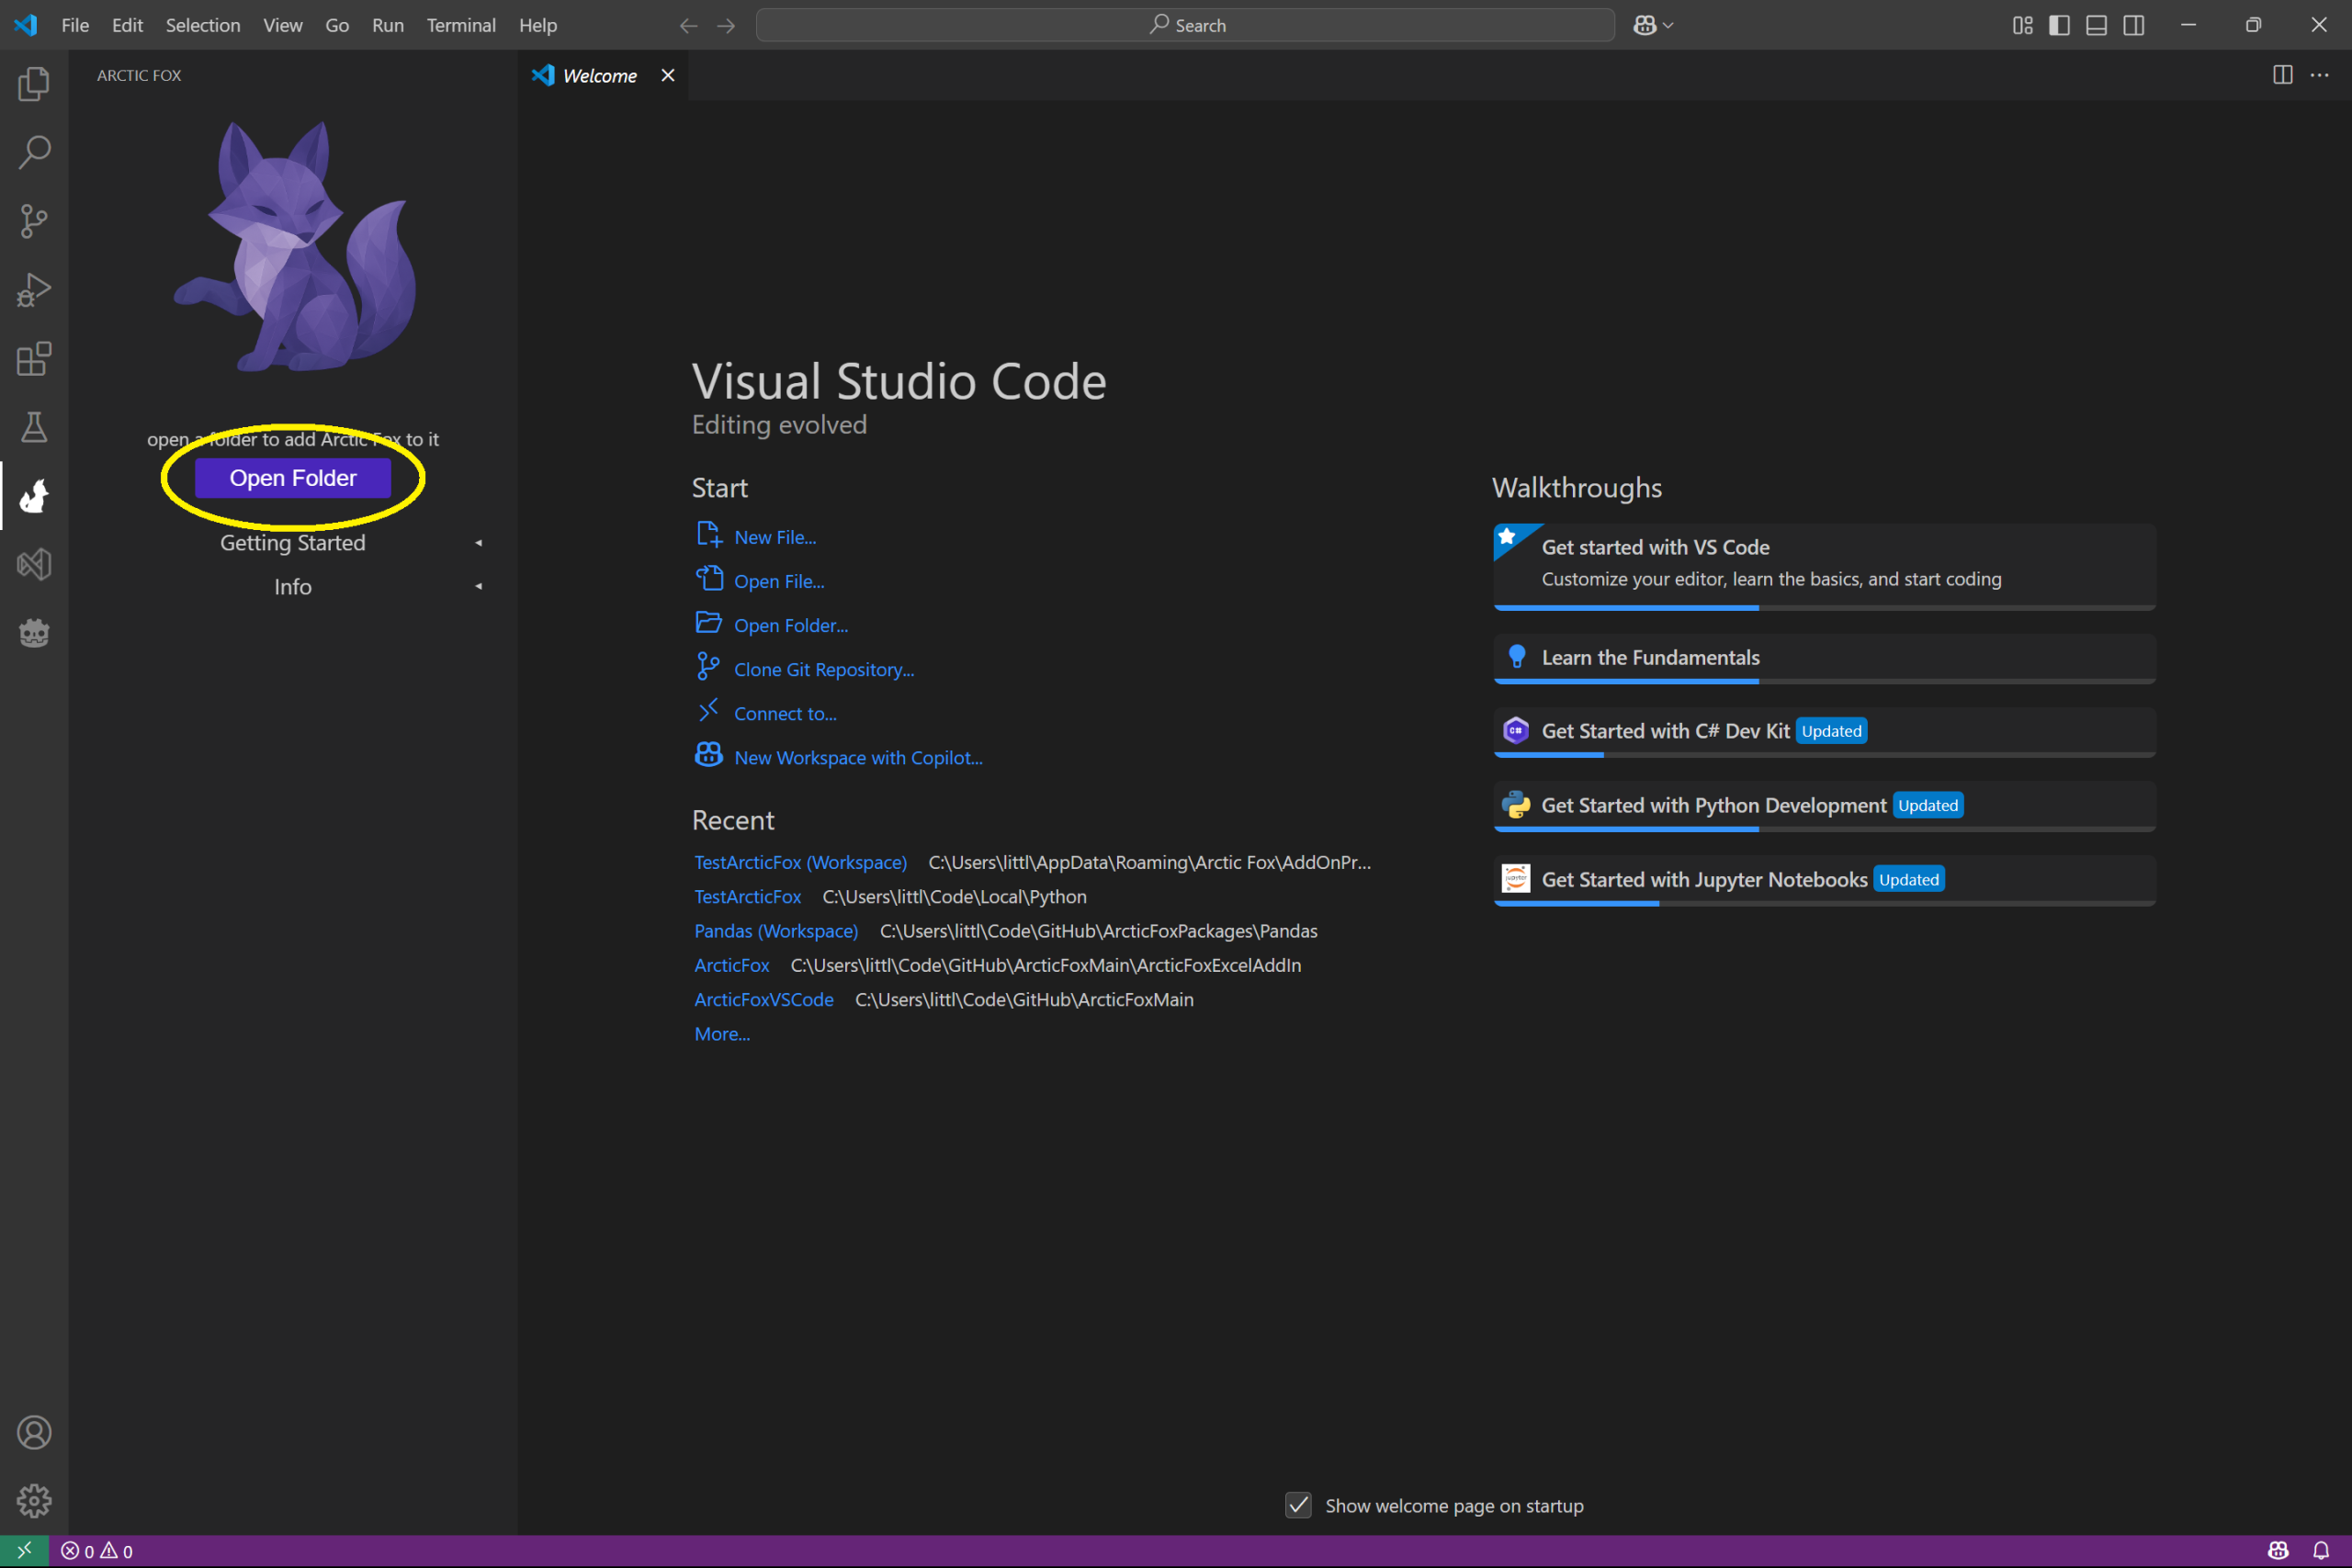
In the folder dialogue that opens, navigate to the folder you want to use and click Select Folder. This will then open the folder in VS Code.

Add Arctic Fox to Folder
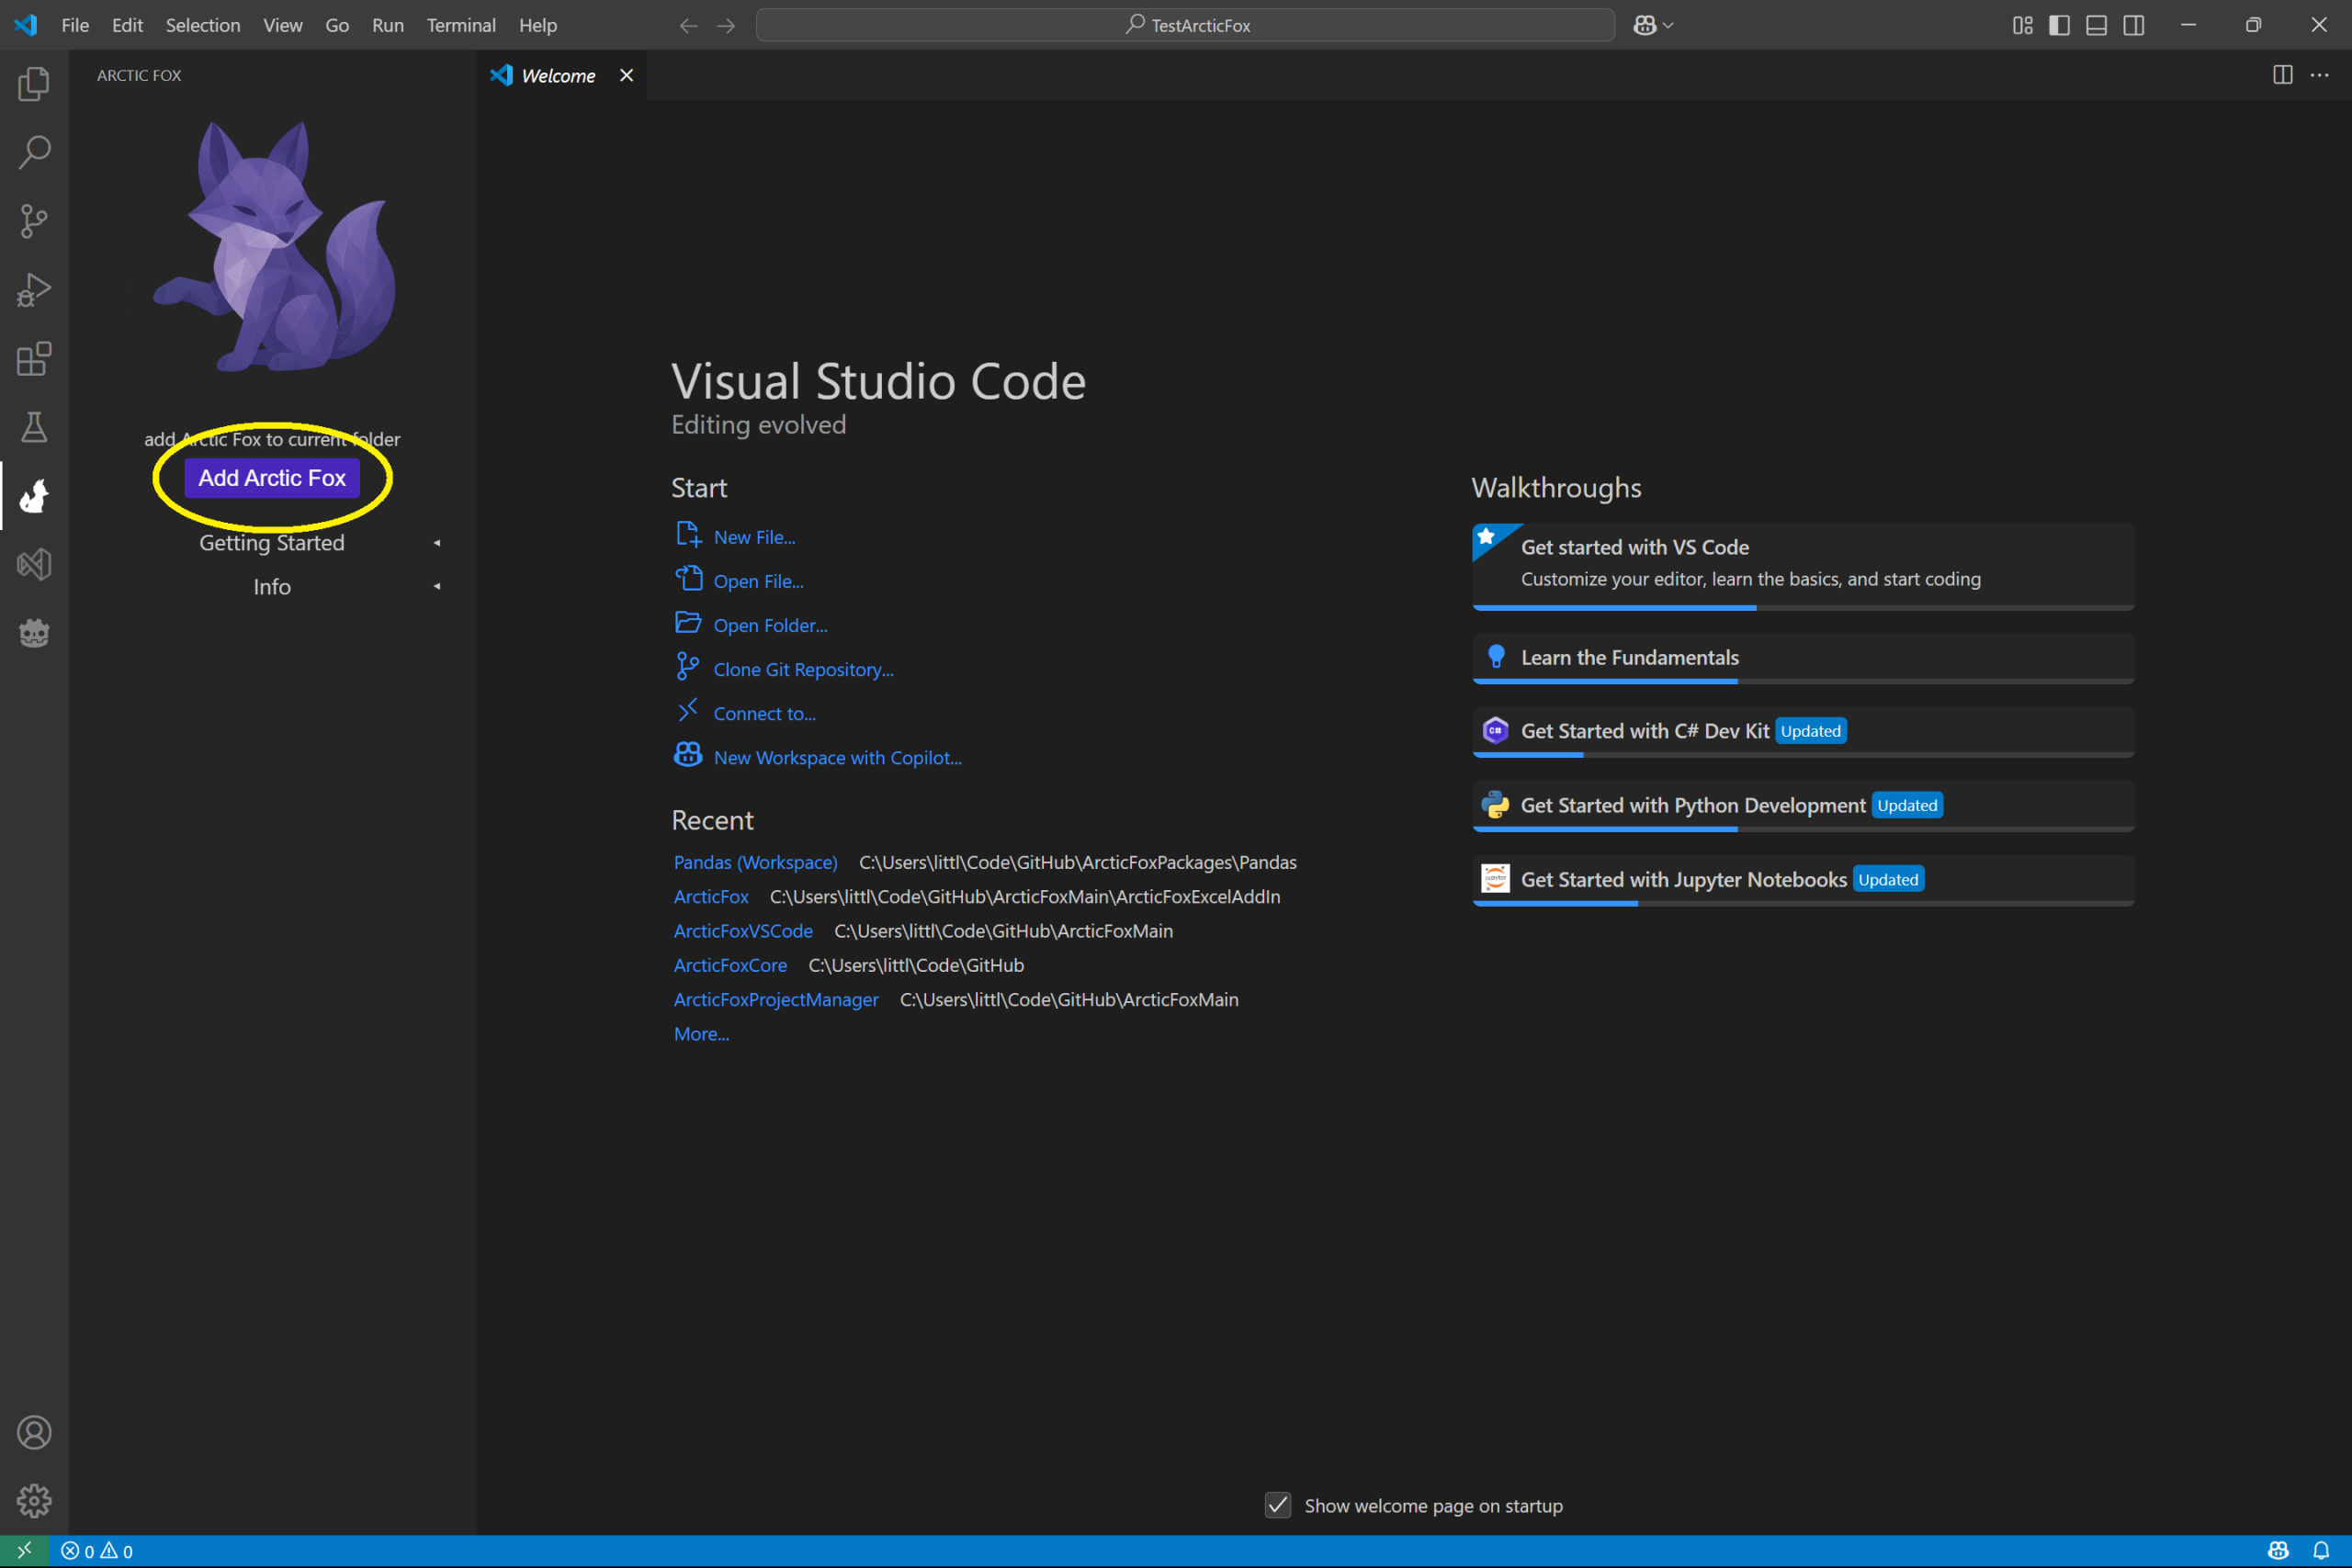
Once the folder is open in VS Code, click the Arctic Fox icon on the left again to open the Arctic Fox pane.
In the Arctic Fox pane, now that a folder is open, you will see the Add Arctic Fox button. Clicking this button will add Arctic Fox abilities to the open folder. Click! That! Button!!!
You should see a spinning wheel shortly while Arctic Fox is being added to the folder. Once it completes, VS Code will reload the window.
Create and Open a Python File
Now that we have a folder that is open, and we’ve added Arctic Fox to the folder, it is time to create a file, add a kit, and let the kit fetch code!
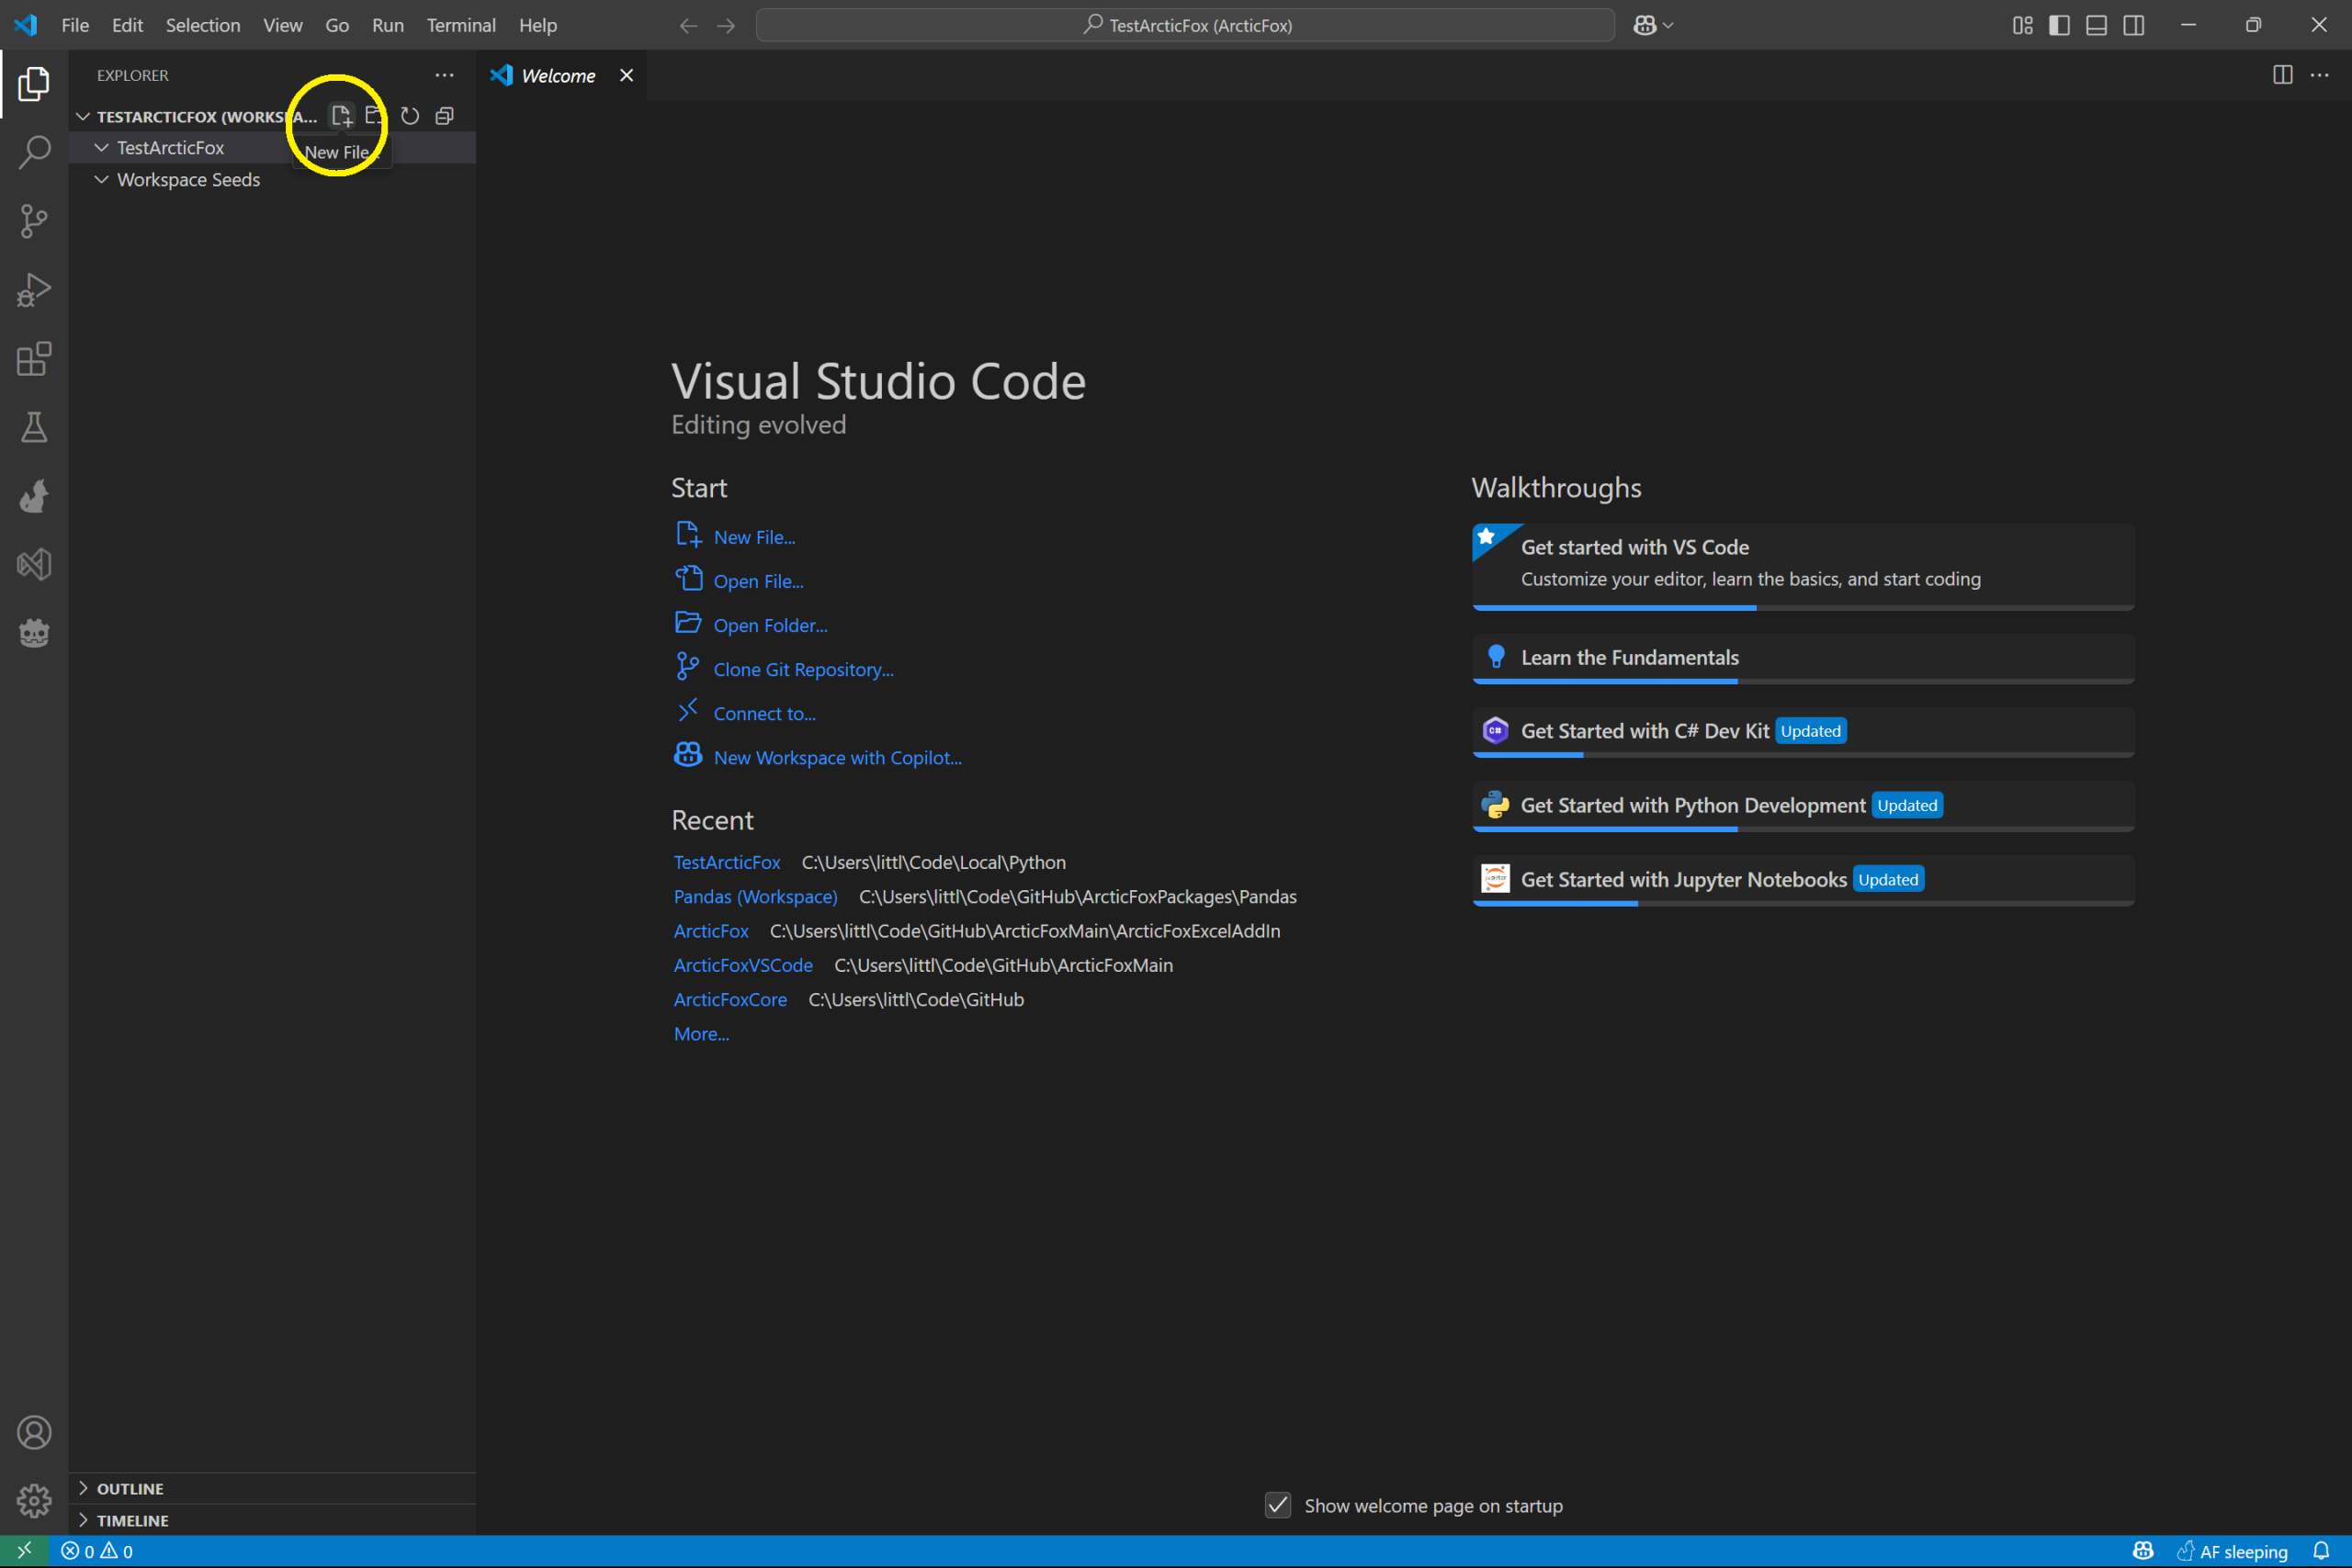
Click the explorer / files icon on the left bar. This will now show the open folder / workspace in the left pane.
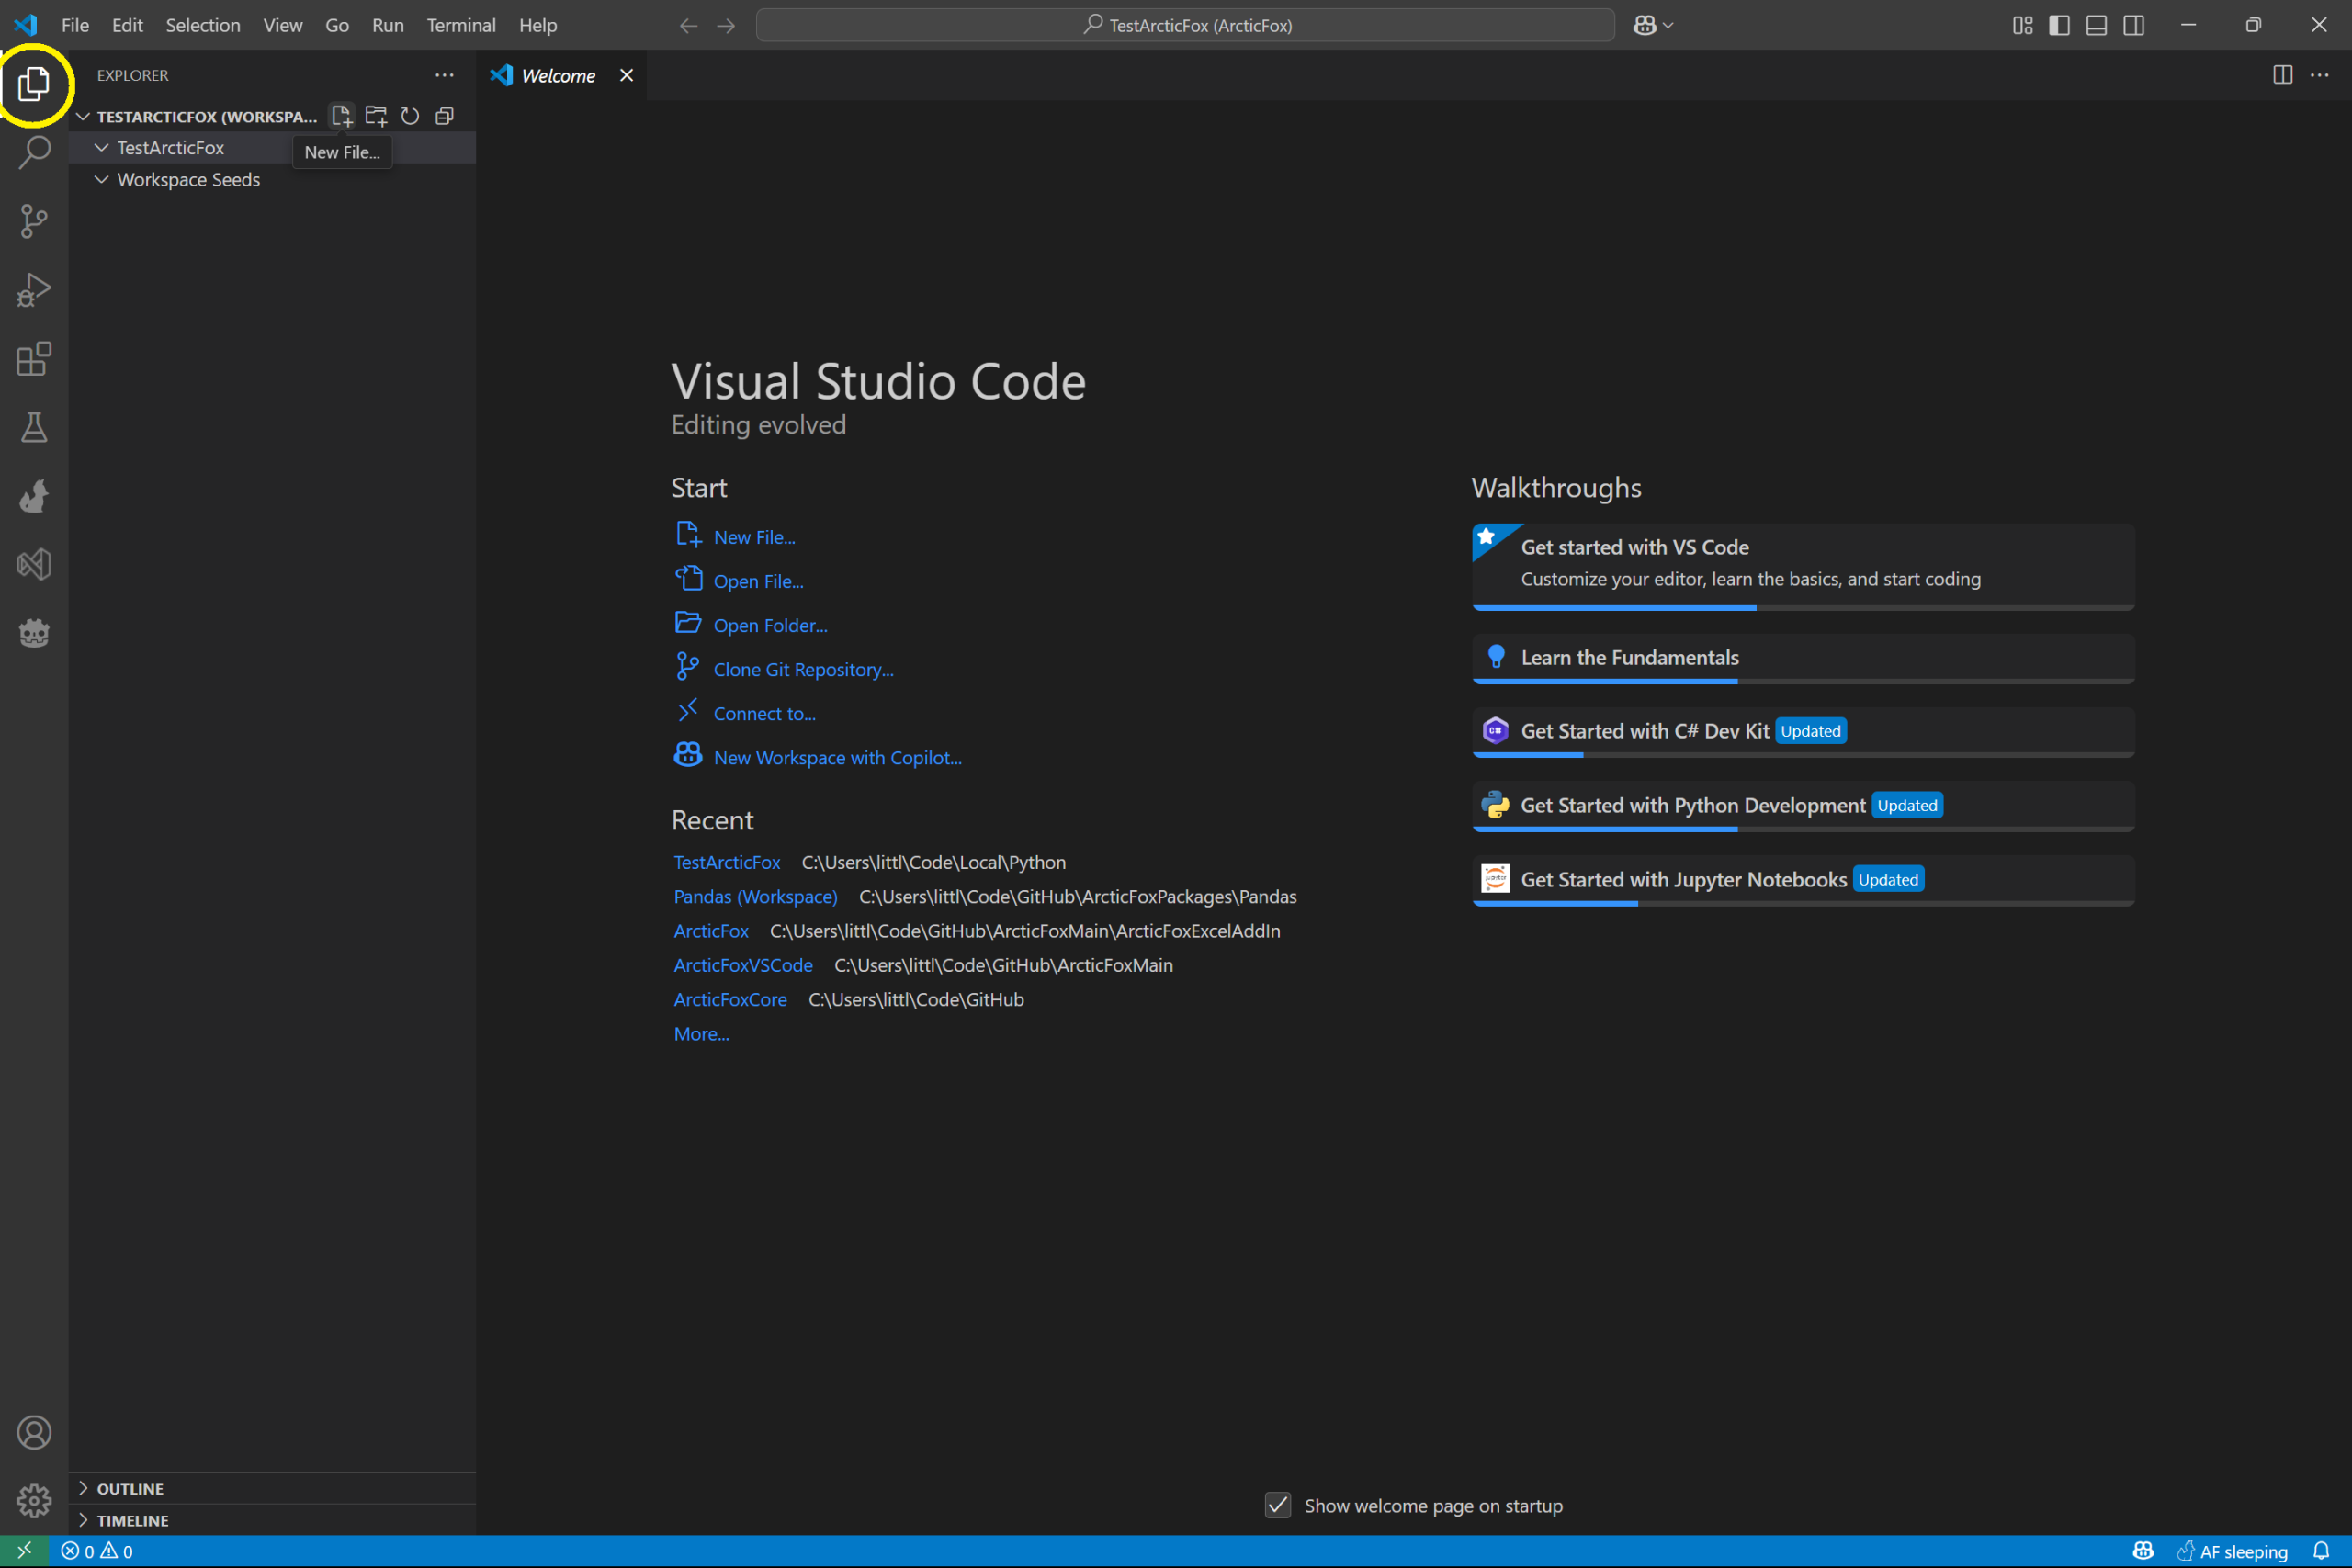
Click the name of your folder you opened. In the example, our folder is named TestArcticFox.
The other folder there is Workspace Seeds. That folder will hold custom kits you create. For now, don’t worry about it.

Now click the new file button right above, and to the right, of the folder name.
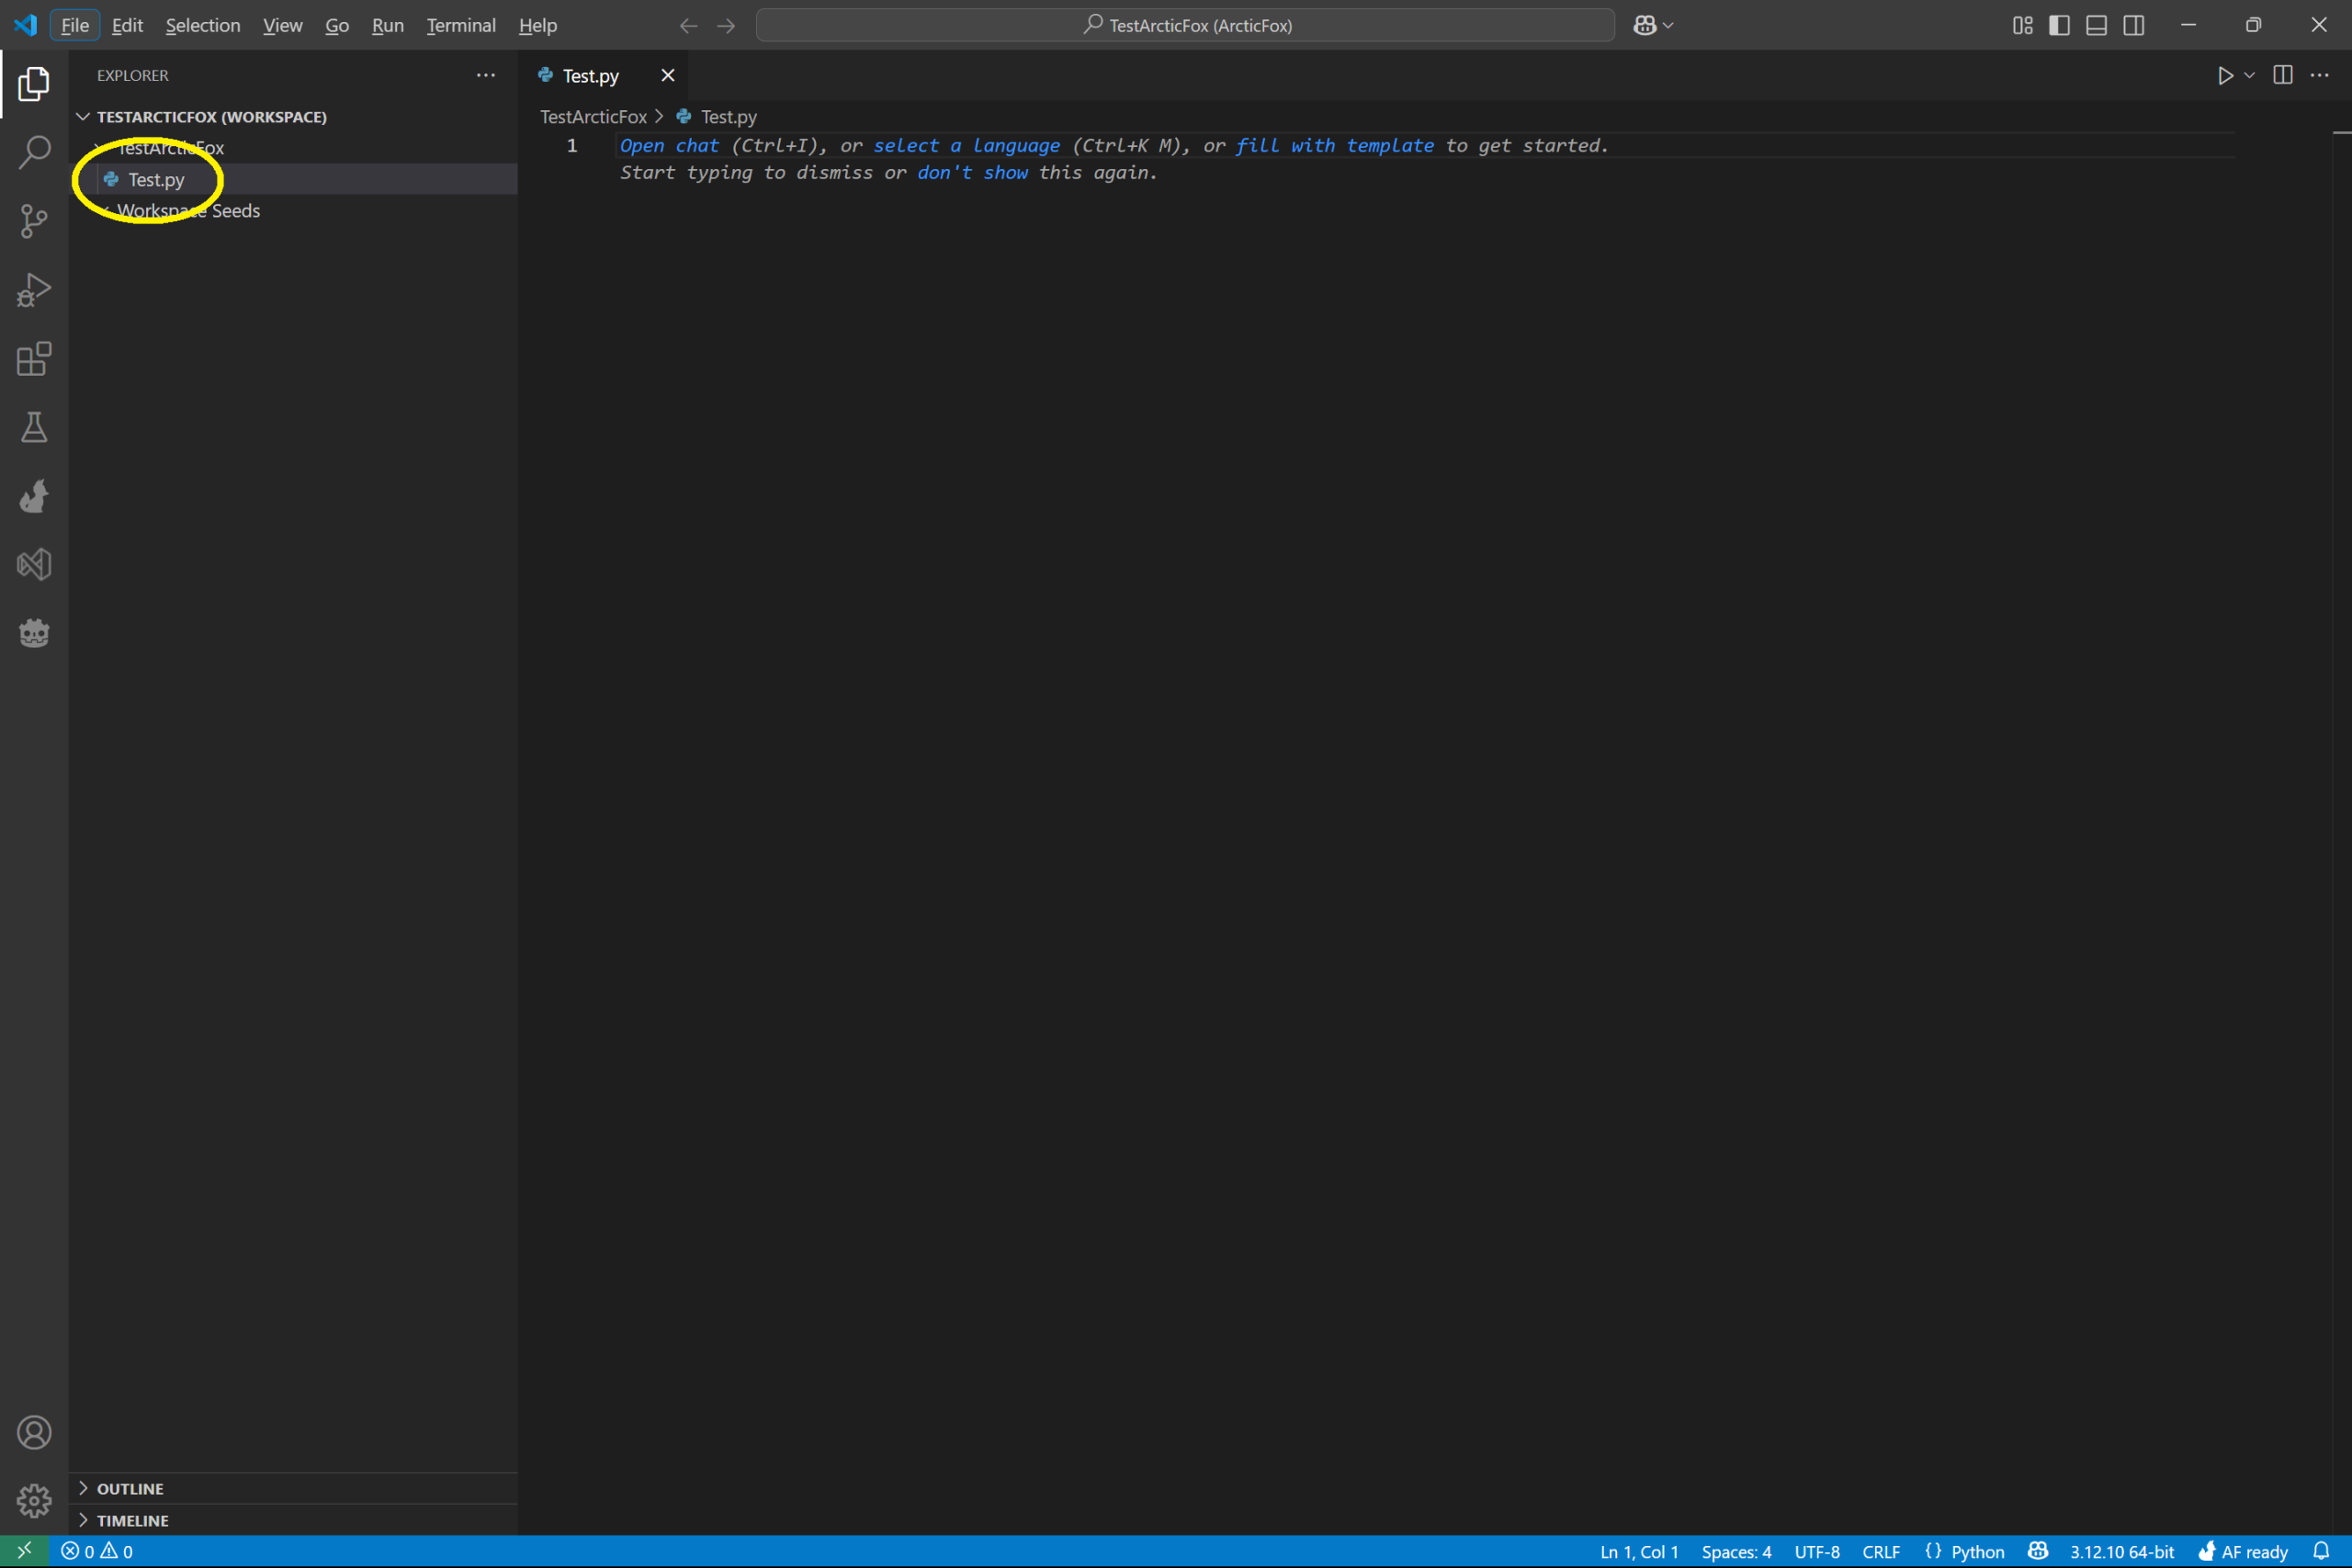
Give the file a name, we chose Test.py. Make sure that the extension is .py so that it is a python file. Click the filename to open the file and you should see a blank text / code file in VS Code.
Add Your First Kit
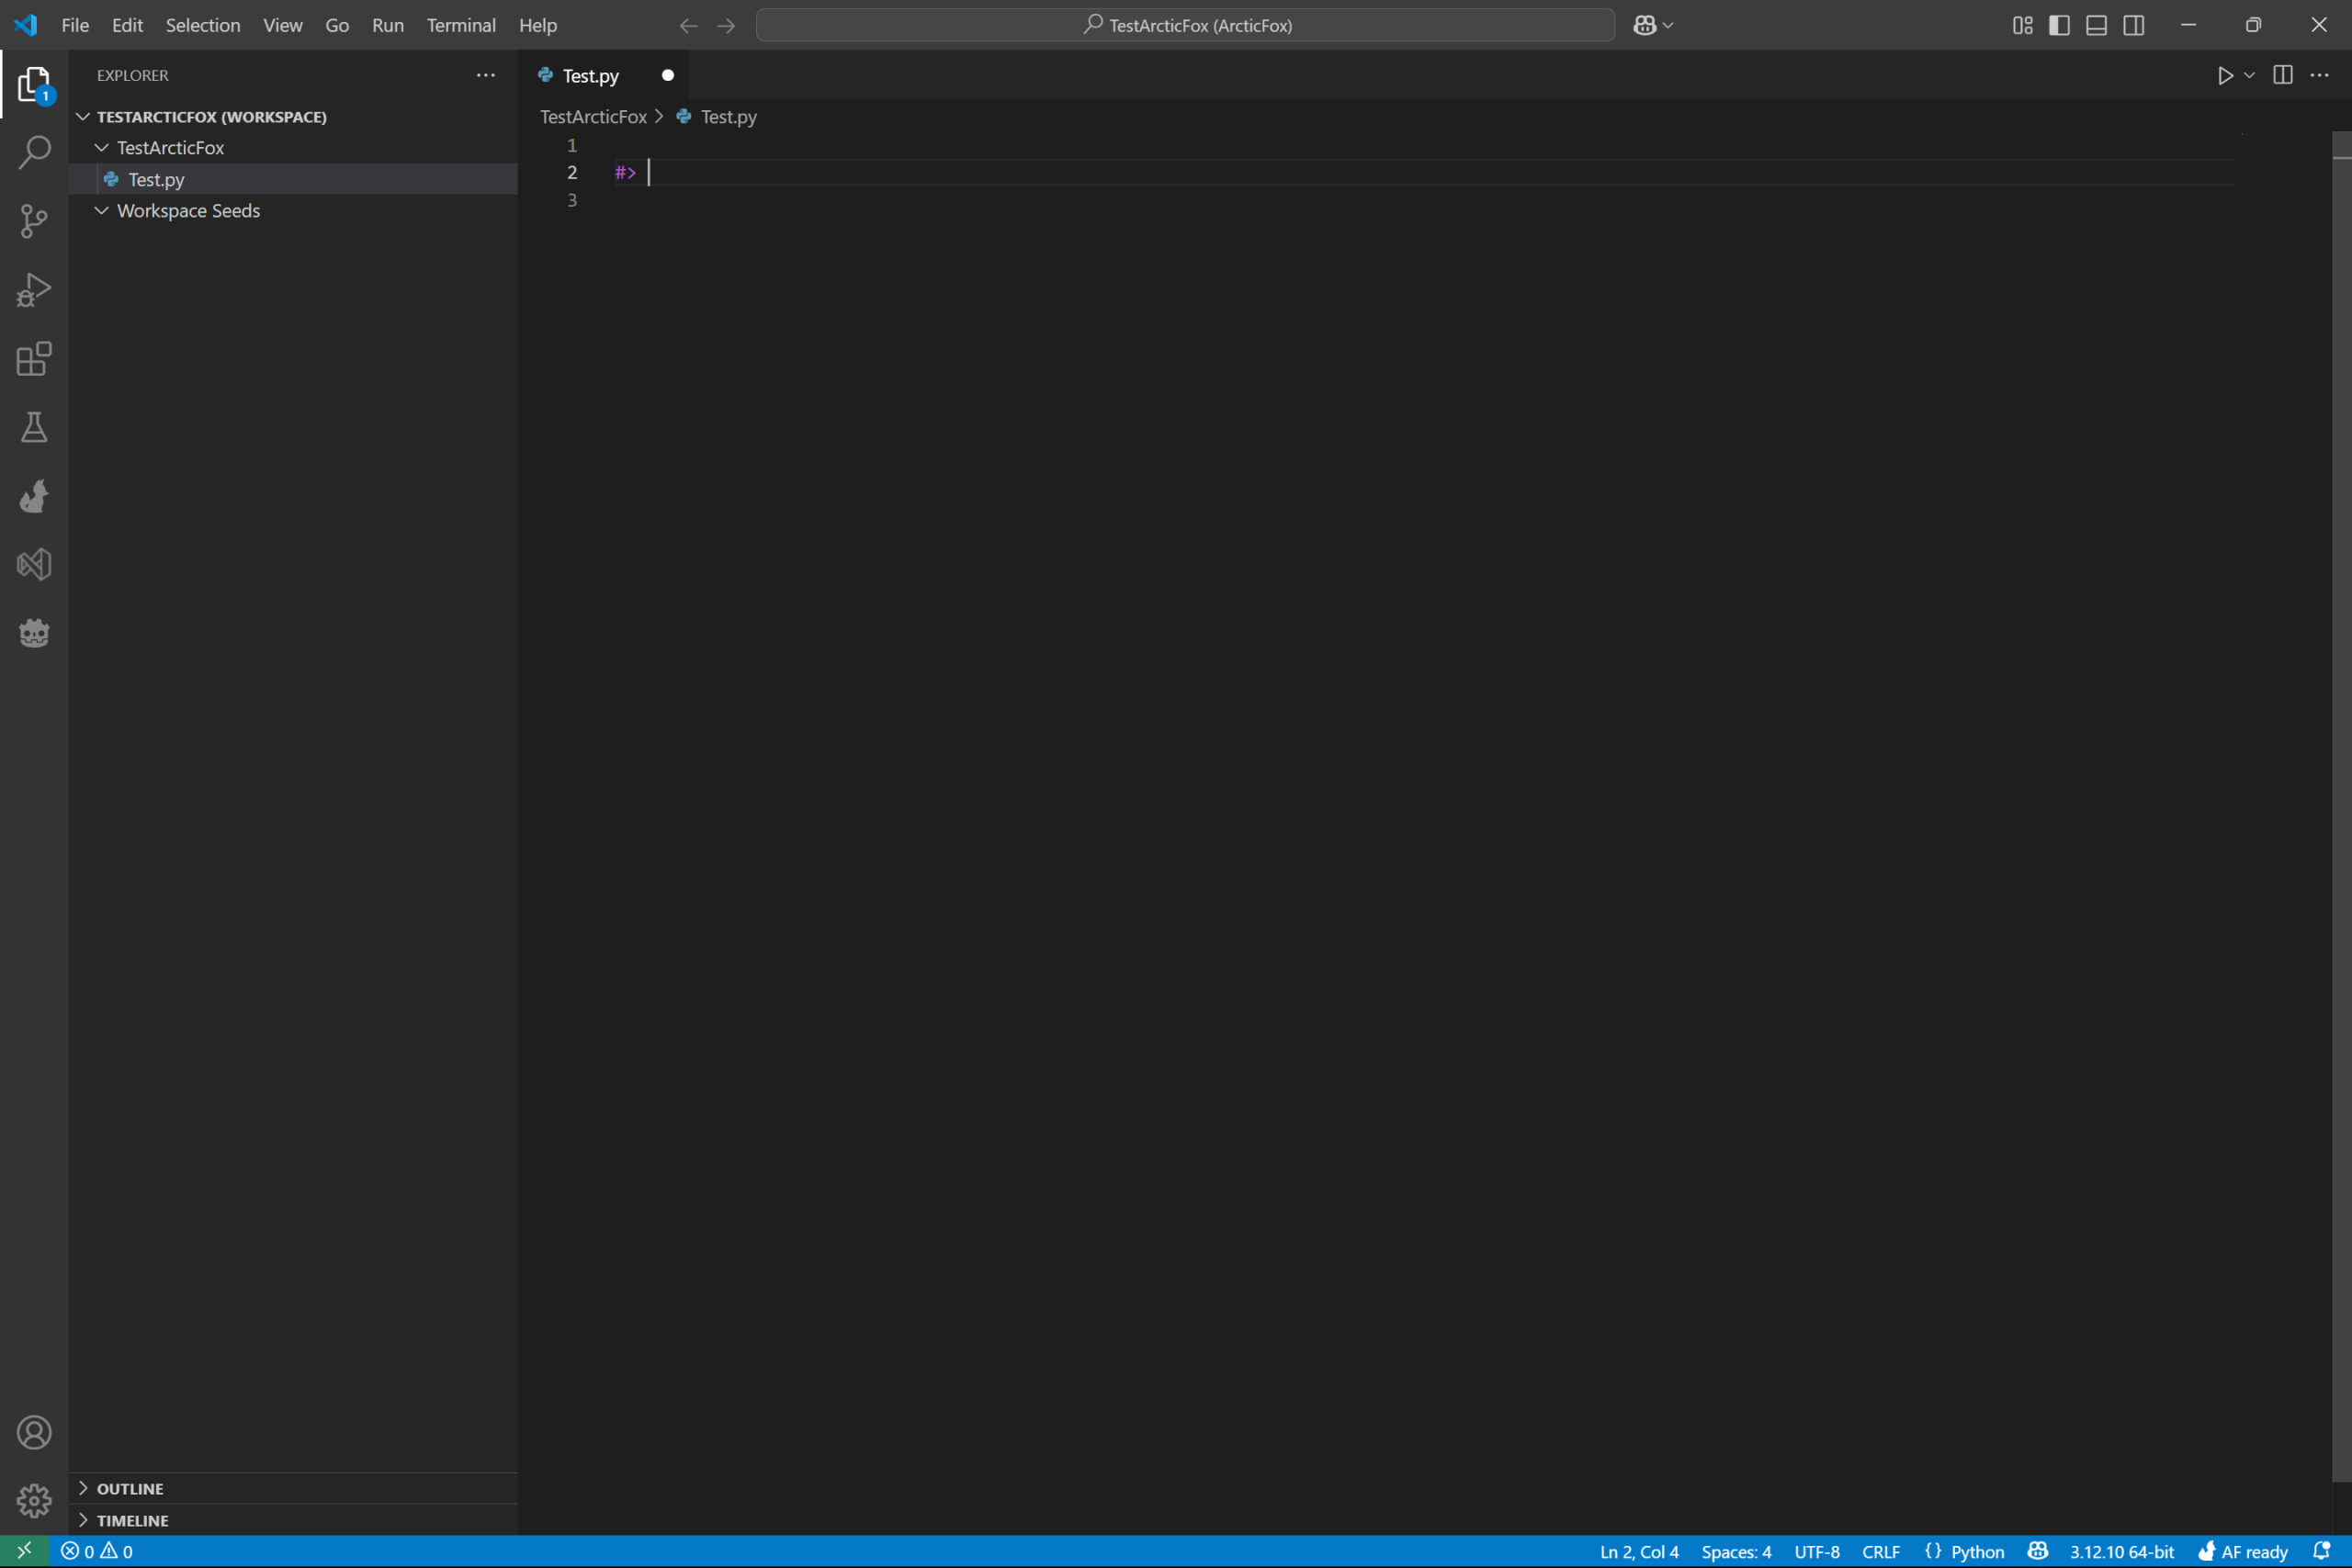
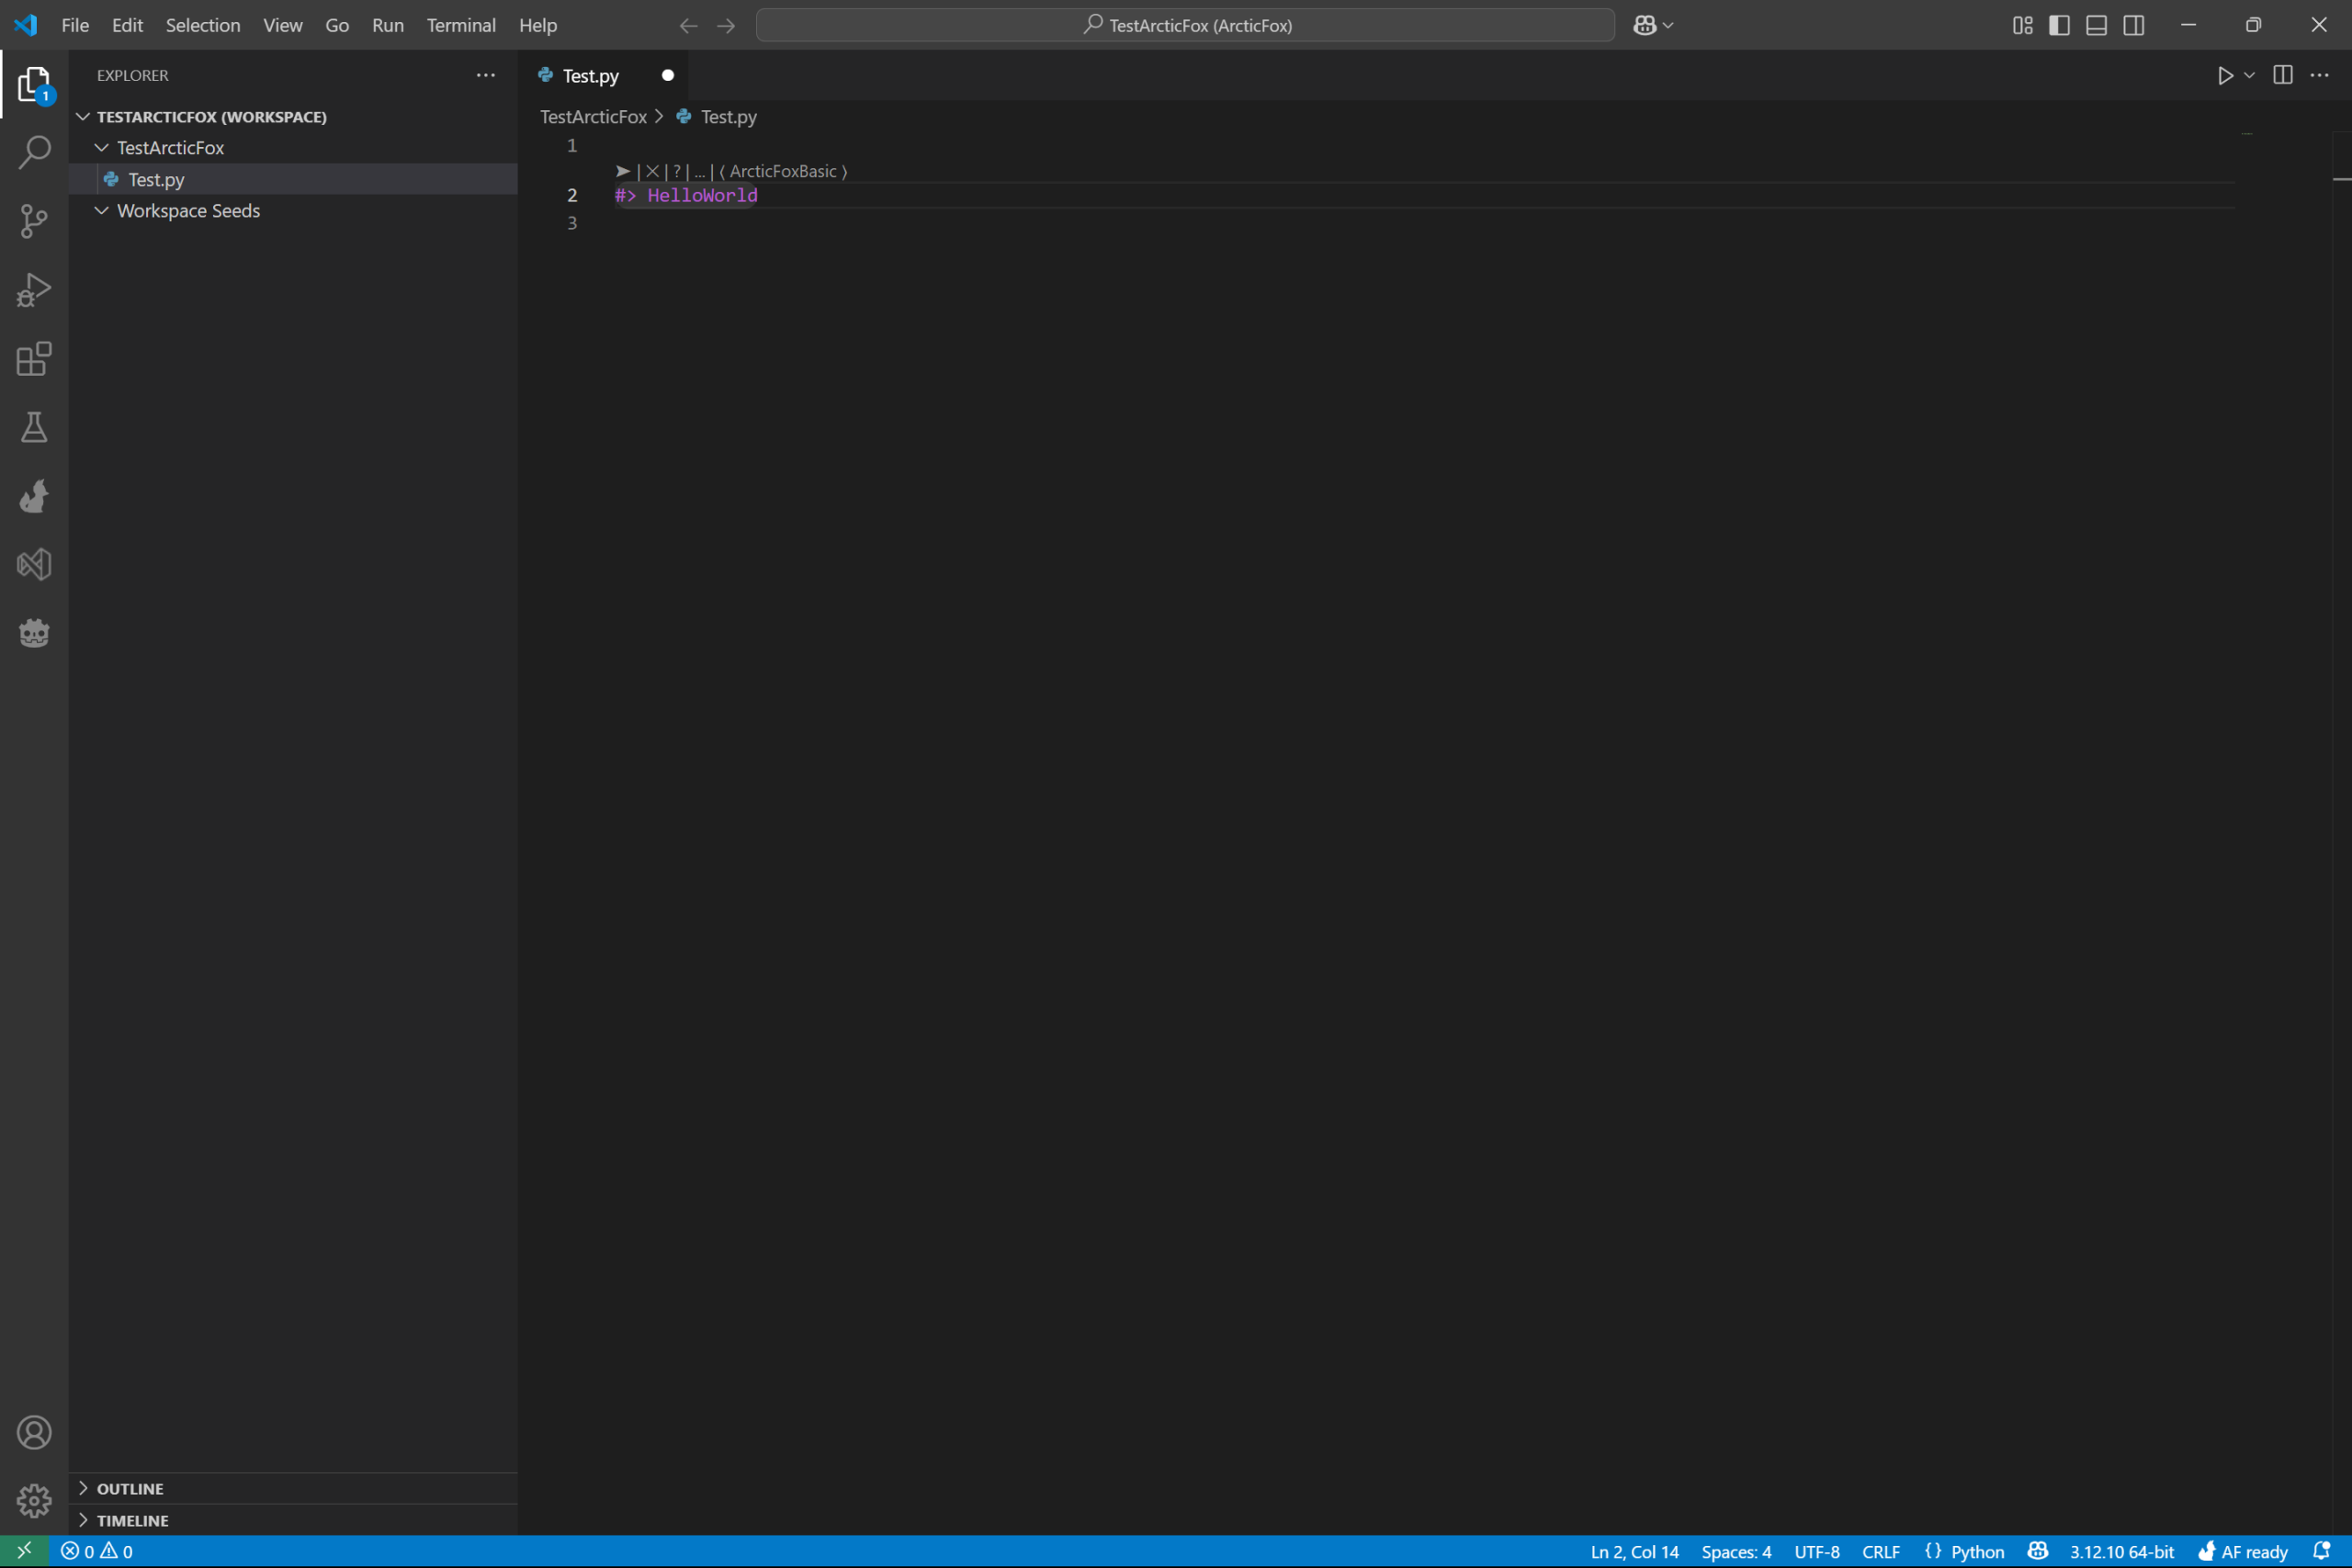
Now it is time to add your first kit and fetch code! In your python file type #> .
Next, type a space (after the #>), and type Hello .
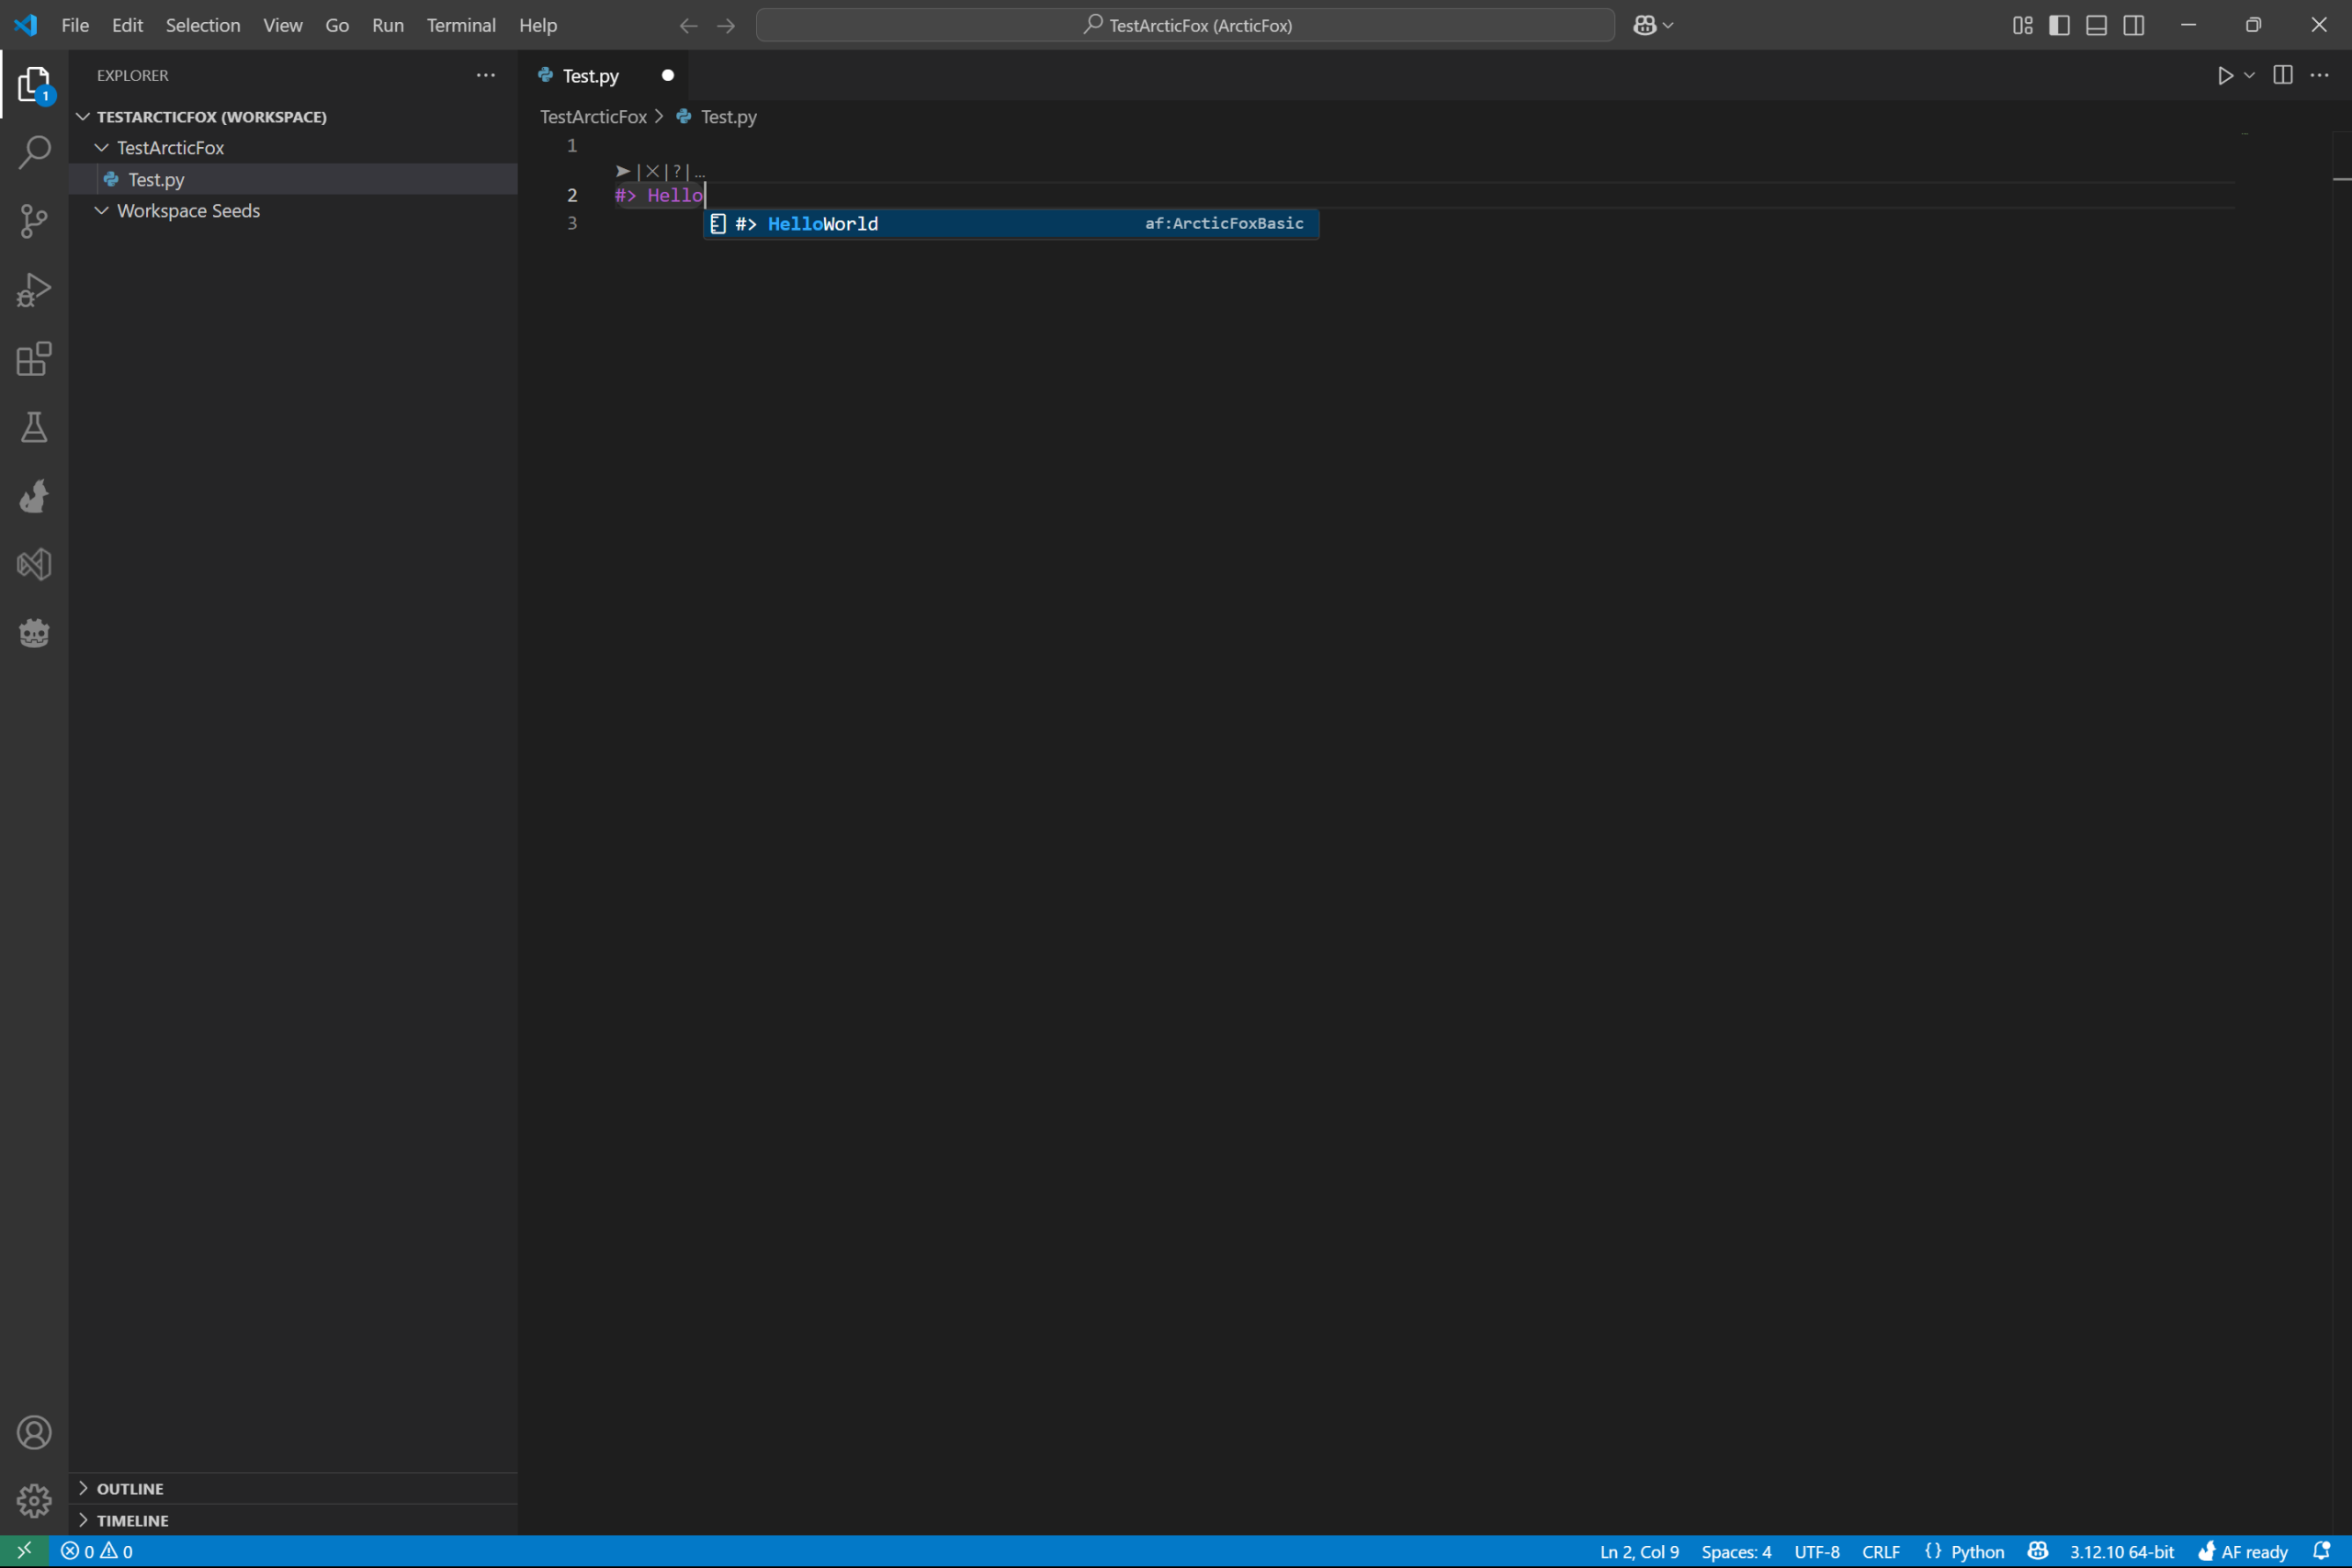
You will see the autocomplete suggest #> HelloWorld. Press enter to accept the autocomplete.
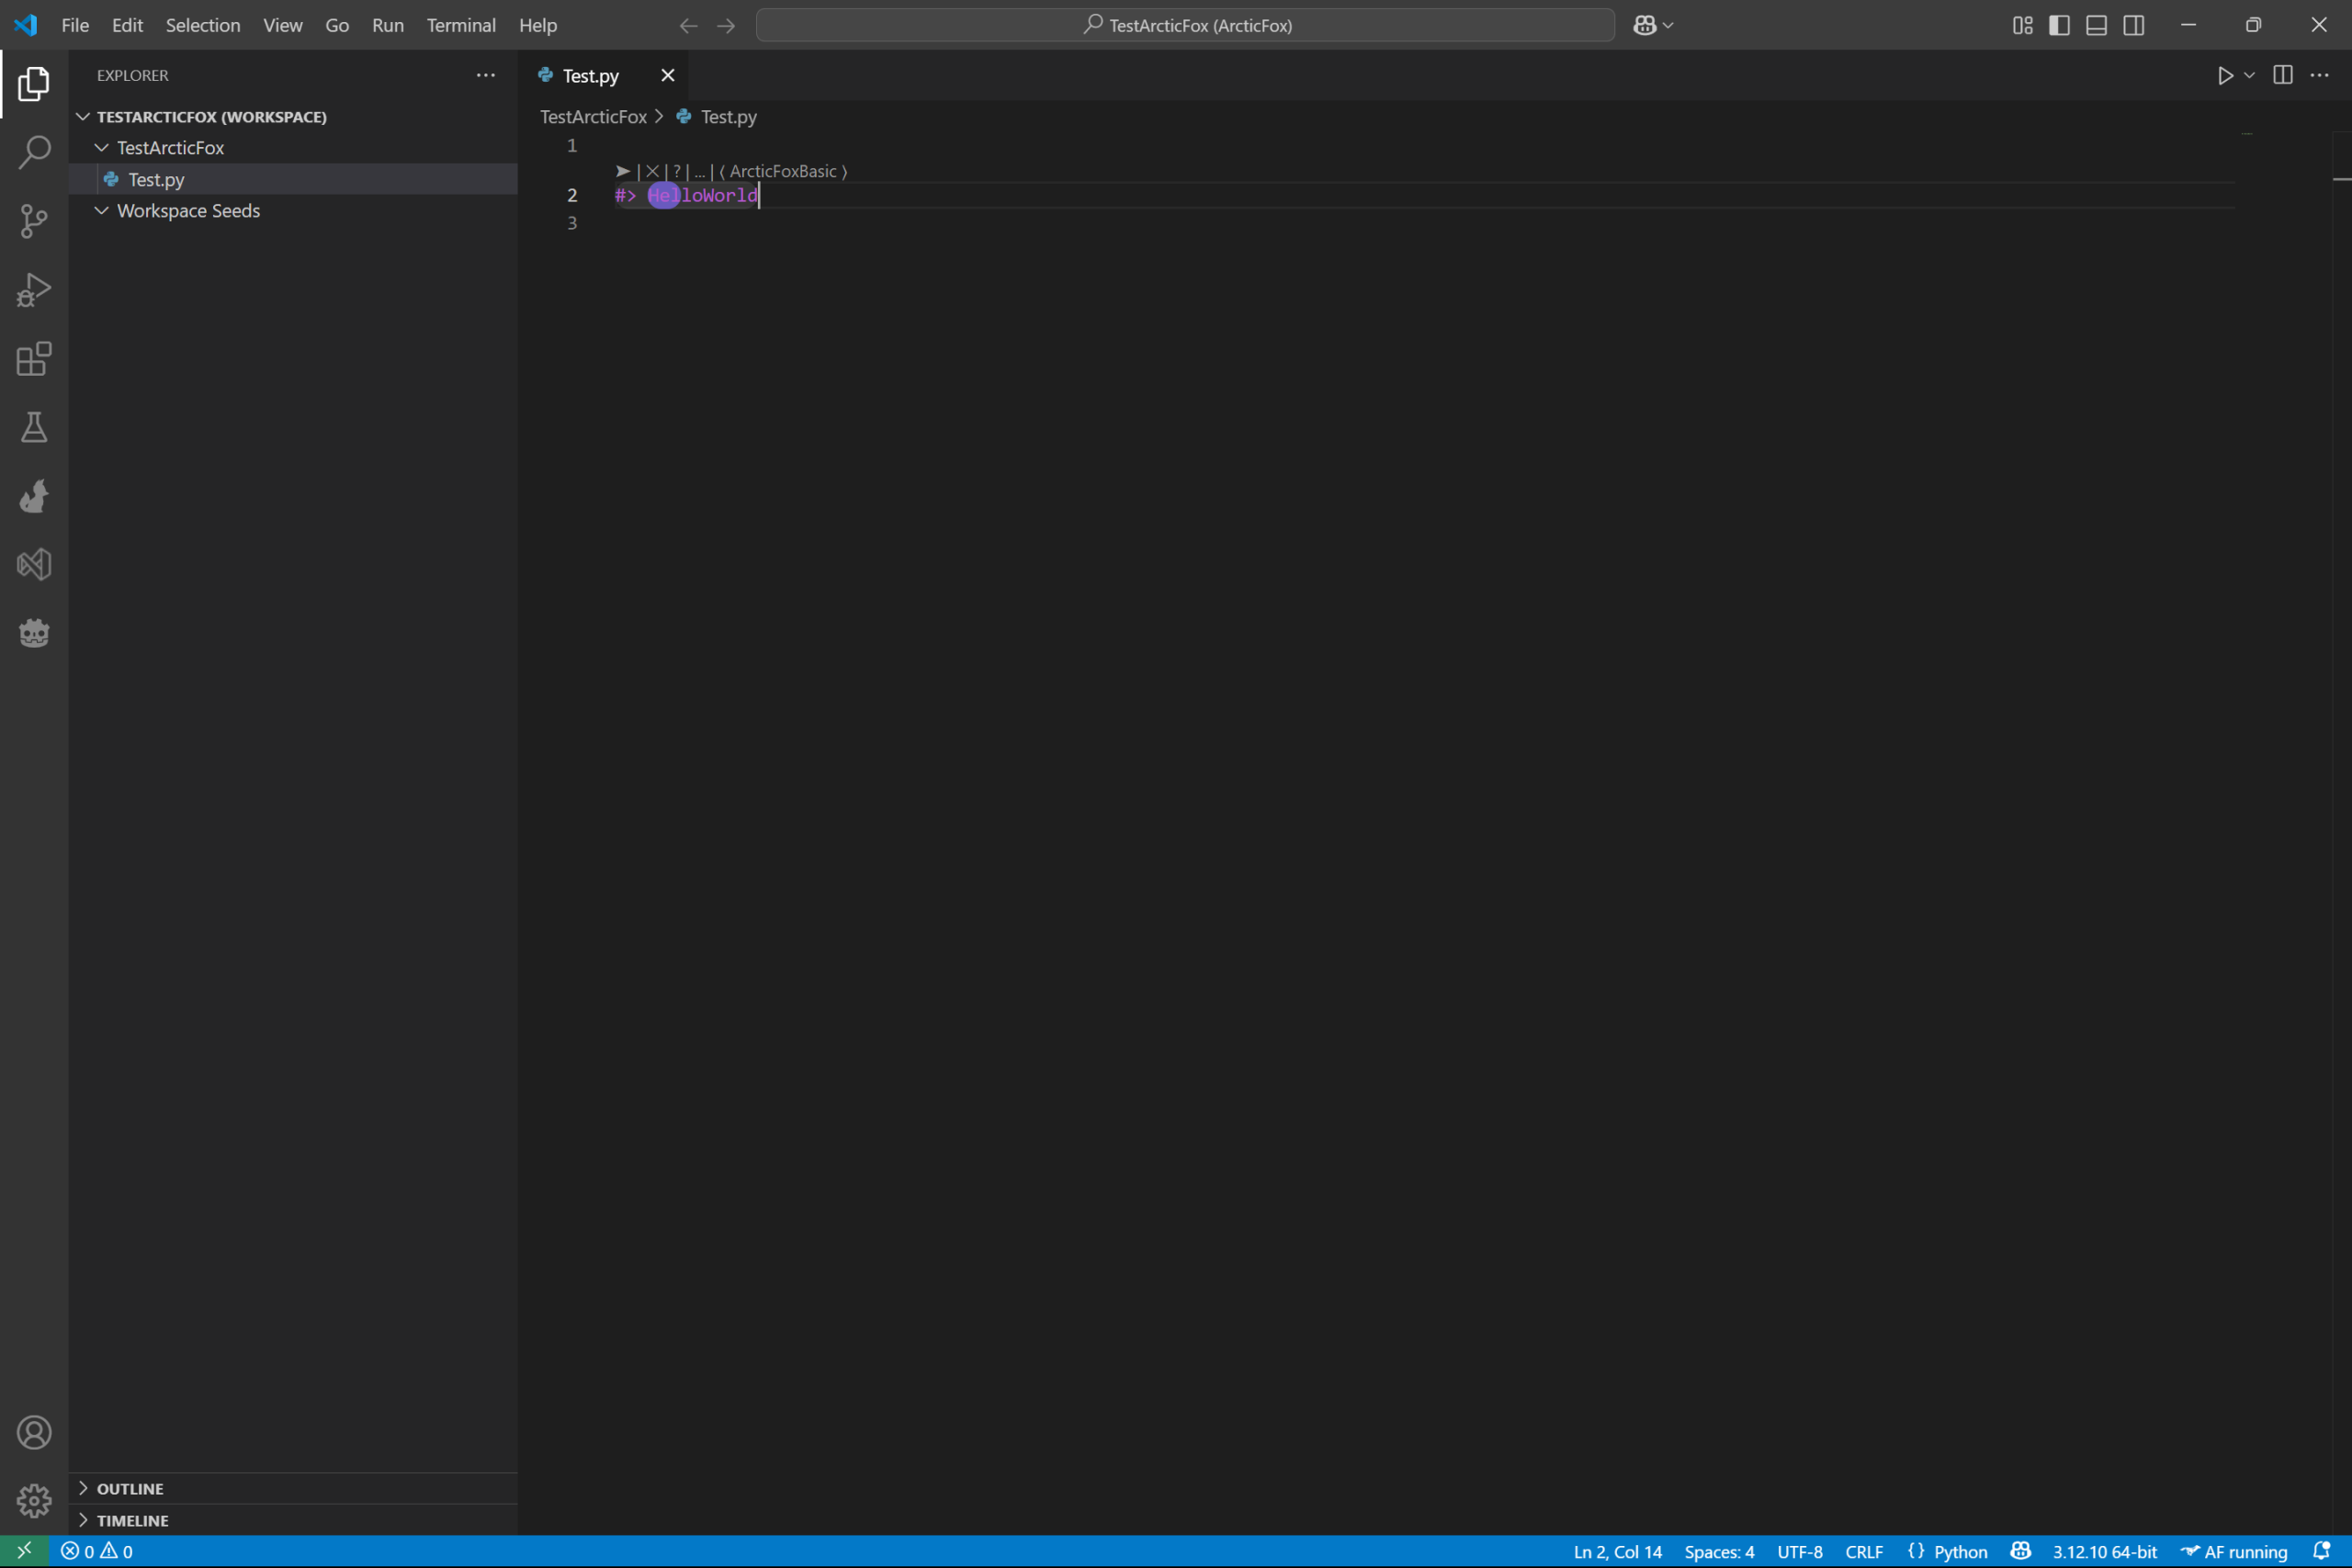
Then, either press enter on the line #> HelloWorld, or press the small arrow above it. You should the animation showing the kit is fetching code for HelloWorld. In the image below, you see the purple bubble moving across the HelloWorld kit.
Then, you should see the classic Hello World print statement written into your code! Congrats, you’ve added your first kit and fetched its first generated code!
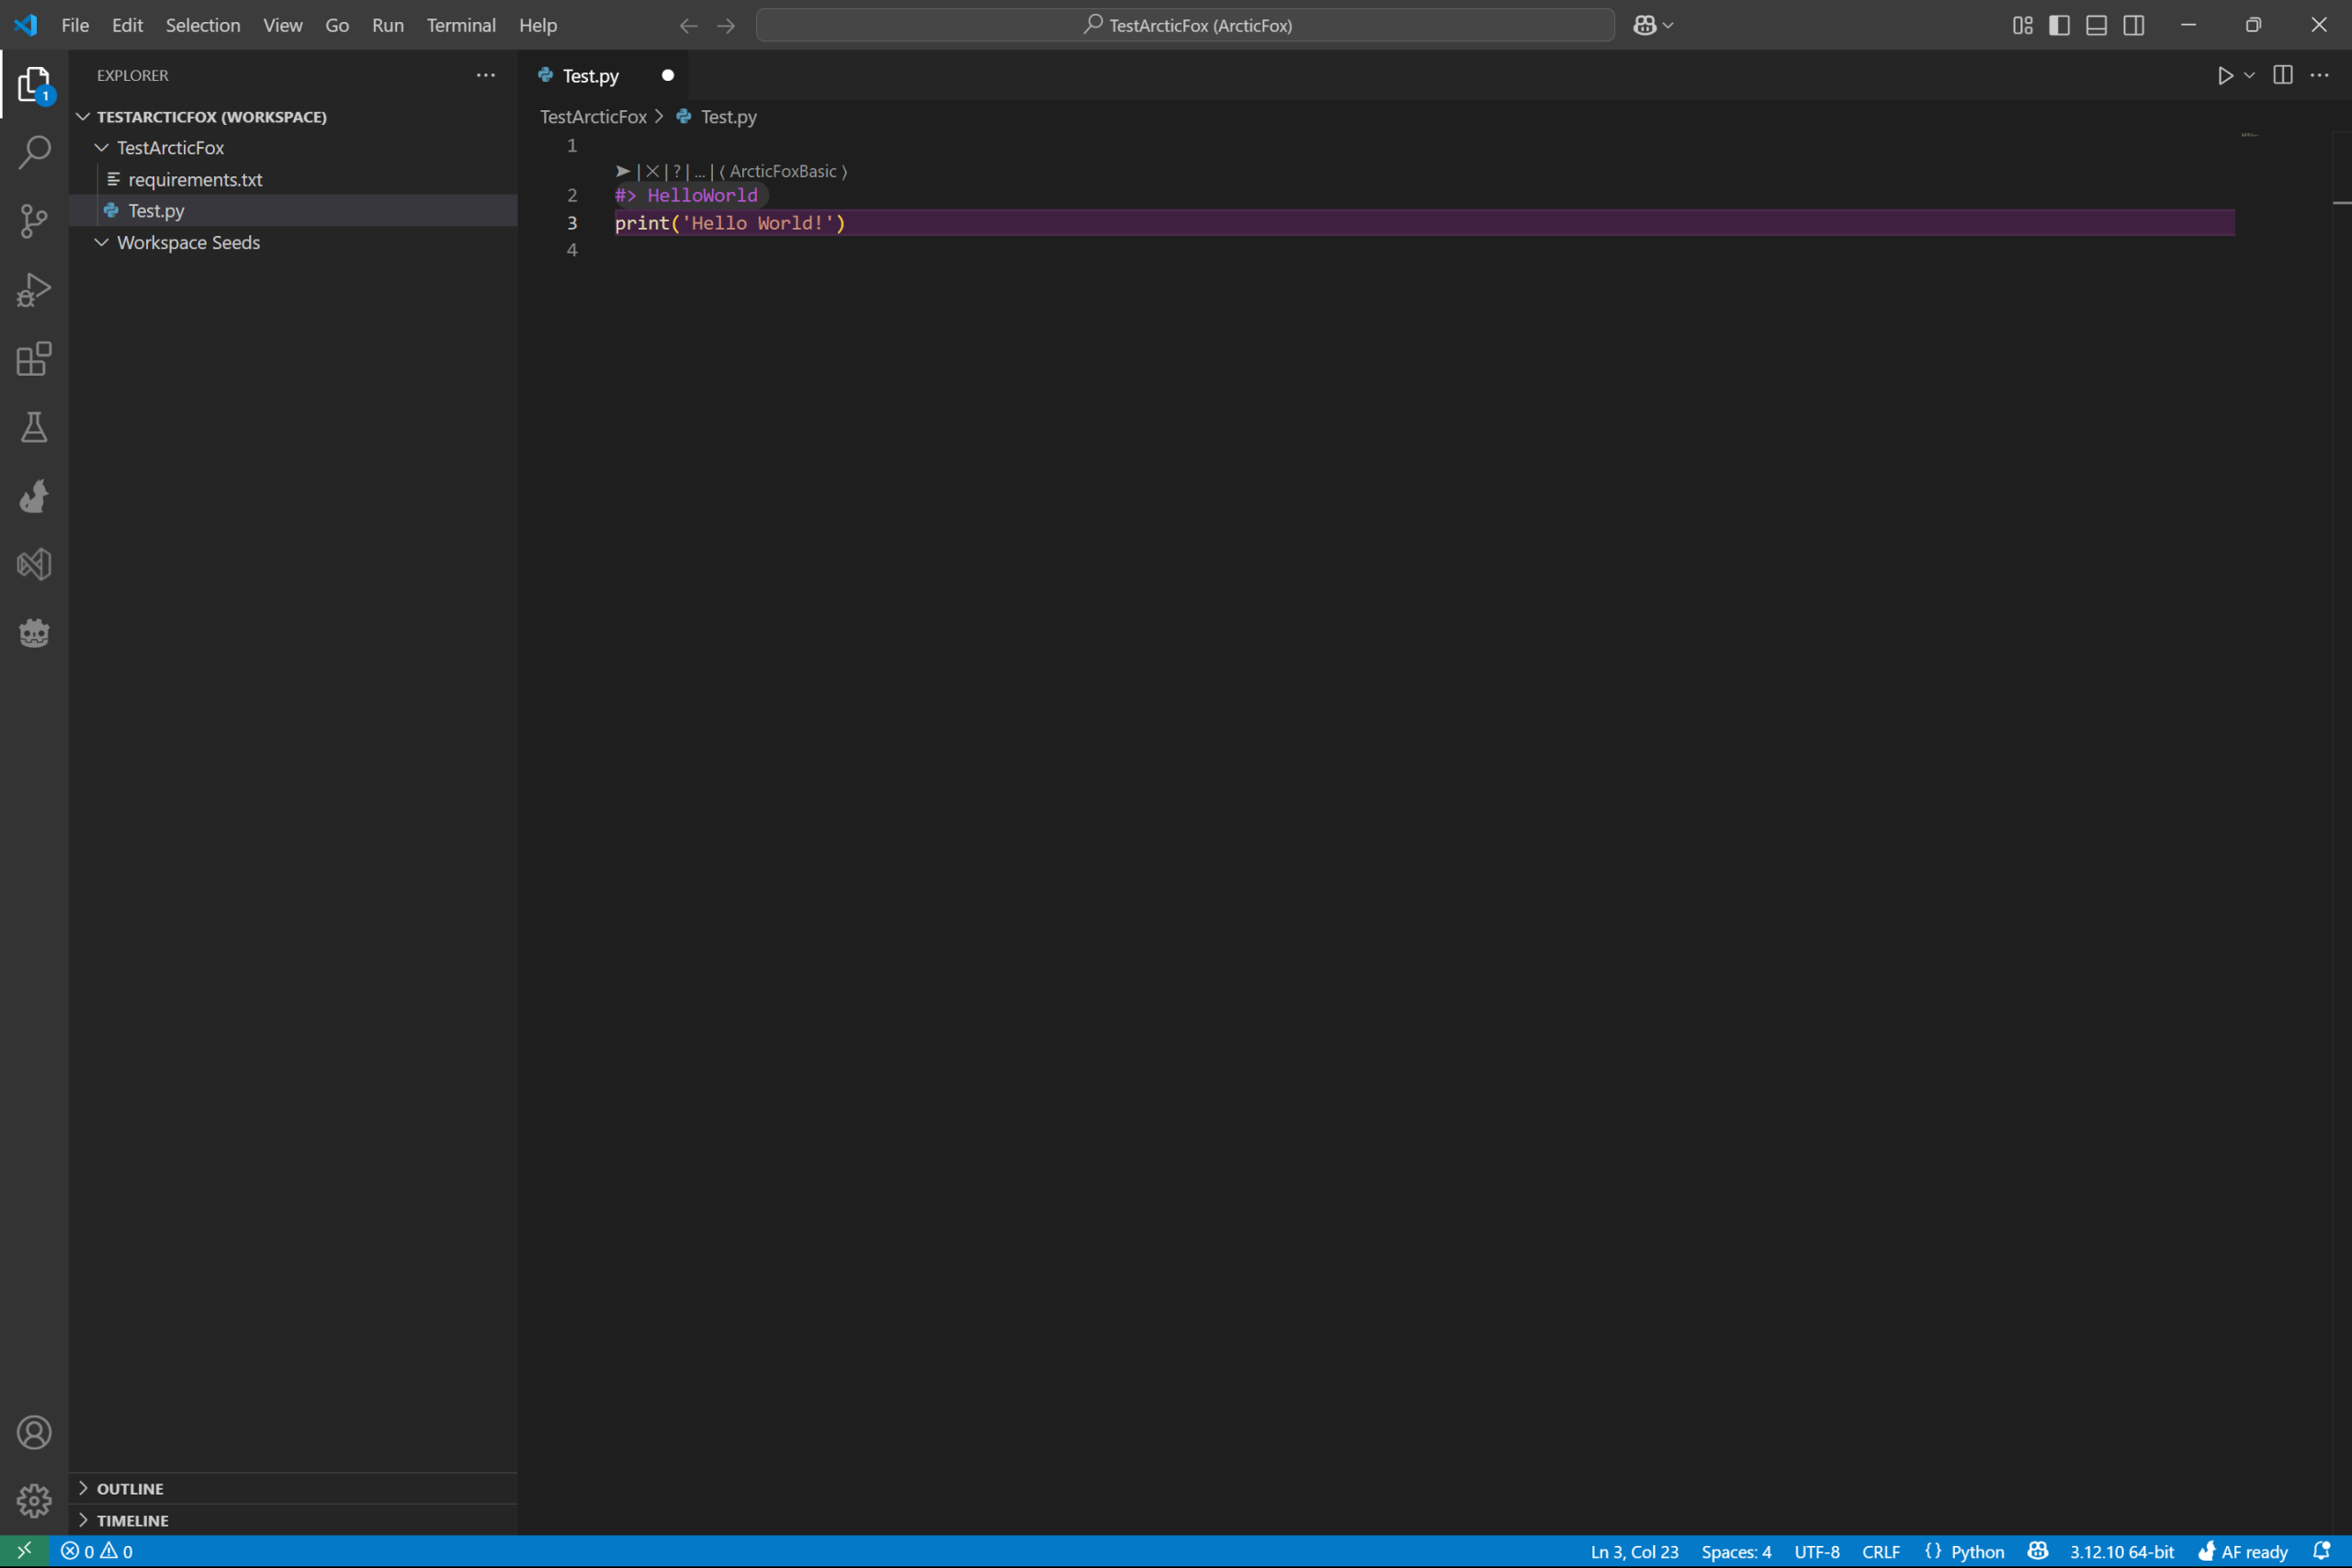
First Kit Completed
We are now done adding a kit to a python file. Congrats! In this guide we:
– opened a folder within VS Code
– added Arctic Fox to the folder
– created a python file
– added the HelloWorld kit to the file
– fetched code with the kit
In the next guide we use more kits to load in data, visualize the data, and start processing the data with kits!